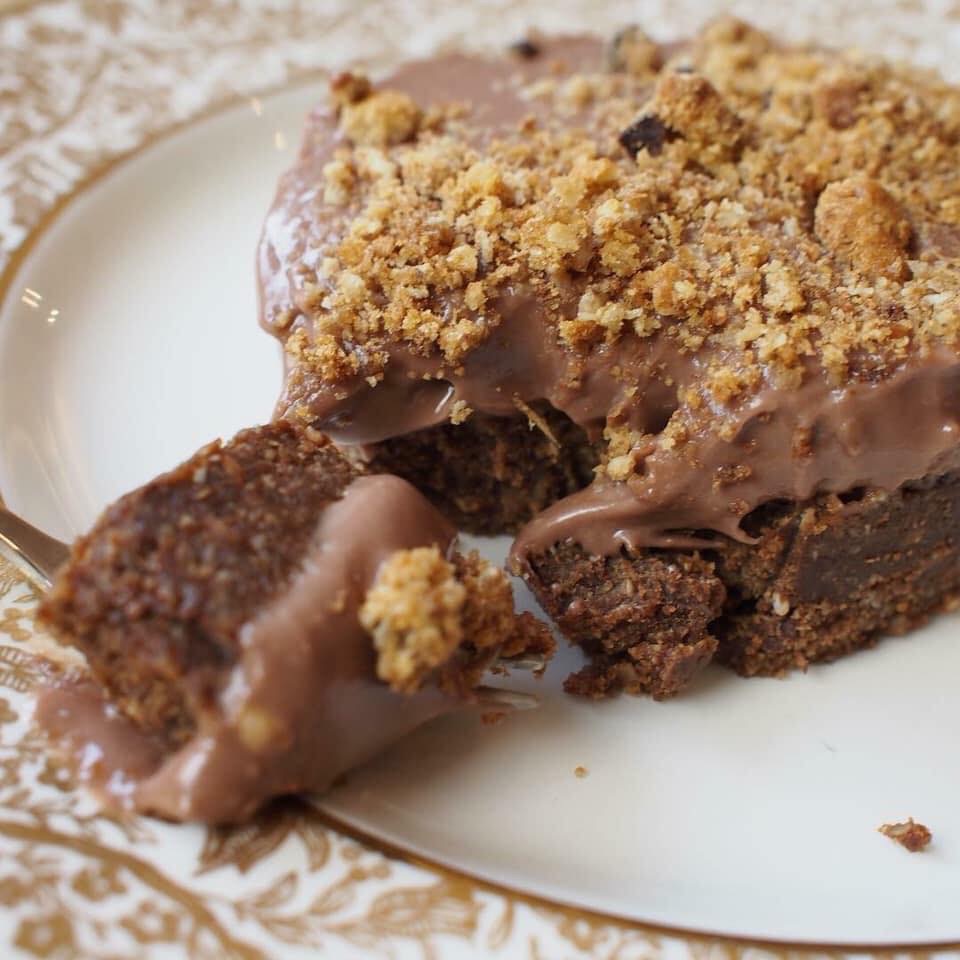

- 300g dairy-free chocolate spread (I use Nature's Store Hazelnut & Cocoa spread but any favorite brand)
- 300g Choc Chip Hobnobs
- 80g vegan butter
- 100g confectioner's sugar
- 500g vegan cream cheese (I use Asda Free From, it's the nicest one I've tried)
- 200ml vegan creme fraiche (I use Oatly)
- a few drops vanilla extract

Directions
1. Melt the dairy free spread.
2. Blitz the biscuits in a food processor till they resemble fine crumbs.
3. Retain a handful for decoration at the end and then combine the biscuit crumbs and melted spread. Stir well to ensure an even coating.
4. Press the biscuit mixture into the bottom of your chosen tin or dish. You really can use whatever you fancy, most size tins will work, springform is fine as are baking tray tins and individual moulds. Set aside.
5. In a large mixing bowl combine the cream cheese, creme fraiche, icing sugar, chocolate spread and vanilla. Stir well or mix using a whisk till fully combined, smooth and glossy.
6. Tip on top of the biscuit base, ensuring a flat finish.
7. Decorate with the leftover biscuit crumbs.
8. Refrigerate for 24 hours before removing from a springform pan, of course you don’t have to use springform, you can serve directly out of your tray if you prefer. If wanting to serve the same day you can freeze for a faster set.
Vegan Slow Cooker Vegetable Stew & Dumplings
Get more like this—Sign up for our daily inspirational newsletter for exclusive content!
__
Photo: Emma Blake