It's taken me years to get the perfect roti, and it's not a skill you can pick up overnight. Rolling out a perfect circle, flipping the roti at the right time, and getting the roti to puff up like a balloon is an art.

- 2 cups Whole Wheat Flour
- 3/4 tsp or to taste Salt
- ~3/4 cup Water
- Spoonful Oil

Directions
1. Sift your flour into a large bowl. Add salt.
2. Slowly add water, while using your fingers to mix the flour into a paste. When the dough becomes difficult to mix add more water. I pour the water into my hand before mixing it into the flour, so I don’t add too much water at a time.
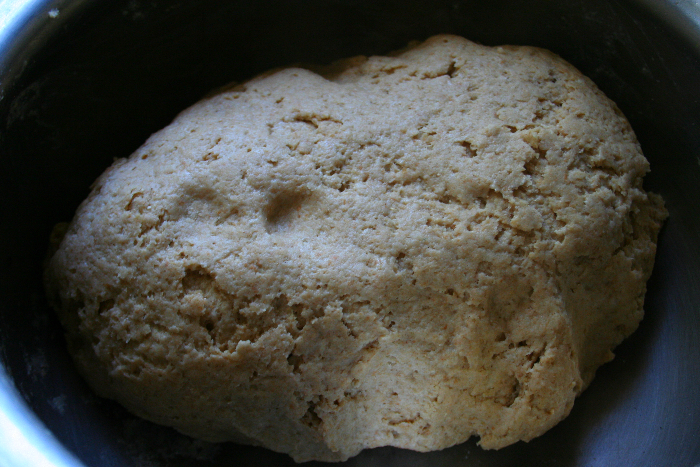
3. Knead the dough until it can form a large ball. This may take about ten minutes. It should be a bit stretchy and slightly sticky. You can drizzle a spoonful of oil in at the end, for an even softer dough (and to help get it off your fingers). The oil isn’t necessary, but adds a bit more softness to the dough. Knead until incorporated.
4. Allow the dough to rest for as long as possible. Ten to twenty minutes is enough to get a soft roti. Rotis can still be made without resting the dough—but they won’t be as good.
5. After the dough rests, take a large portion of dough and roll it into a long “snake.”
6. Make 1–1.5 inch sized balls by pulling the ends of the dough and place them aside.
7. Once your dough is portioned out, take one ball and roll it into as close to a perfect circle as possible.
8. Preheat your pan on high heat.
9. Dust the dough in bowl of flour and gently press the dough flat. Keep your fingers flat. Flip the dough and dust the other side while gently pressing it flat.
10. Now, transfer your dough disc onto a rolling surface. Take your rolling pin and roll one side of the dough for just a few seconds. Flip the dough and move it a quarter turn clockwise, and roll the other side of the dough until it resembles a circle.
11. Continue rolling the dough and flipping it over, while turning it a quarter turn clockwise to ensure you are making a circle. Dust with flour when necessary. Don’t press the dough, but let the rolling pin gently float over the surface. As the dough becomes flatter it should start turning itself (keeping the dough well dusted with flour helps!!). It takes time to be able to do this quickly.
12. About the time your dough is thin enough that it begins to wrinkle or stick to the board pick the roti up and place it flat on your palm.
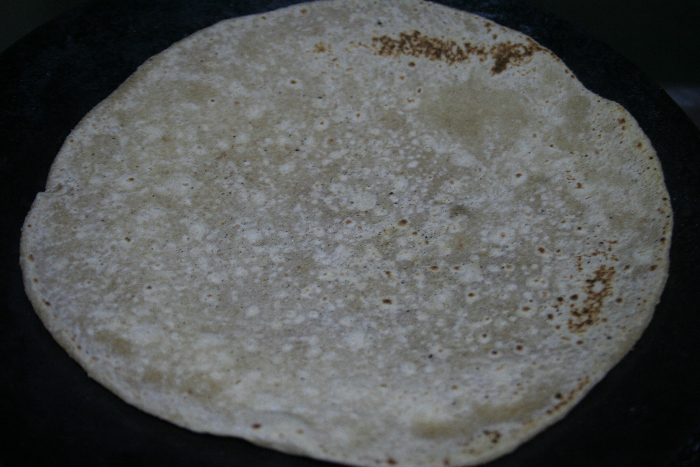
13. “Slap” the roti onto the pan (don’t touch the pan!). This takes a few tries to master but the roti should land flat on the surface.
14. Allow the roti to cook until the part touching the pan is partially cooked through, but still a little raw. Flip.
15. While the first roti cooks, start making another roti. If you have a partner to flip the rotis while you roll them it helps a lot!
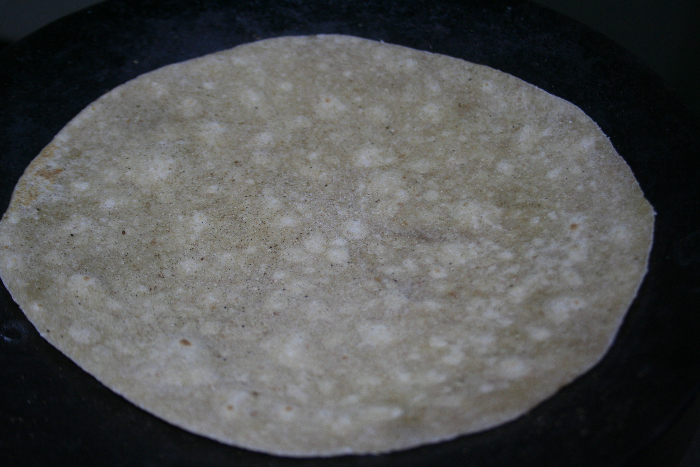
16. Now, Back to the roti on the pan. 🙂 When the roti begins to form small bubbles on the surface, place the roti on the flame with tongs. Do this gently to avoid popping your roti!
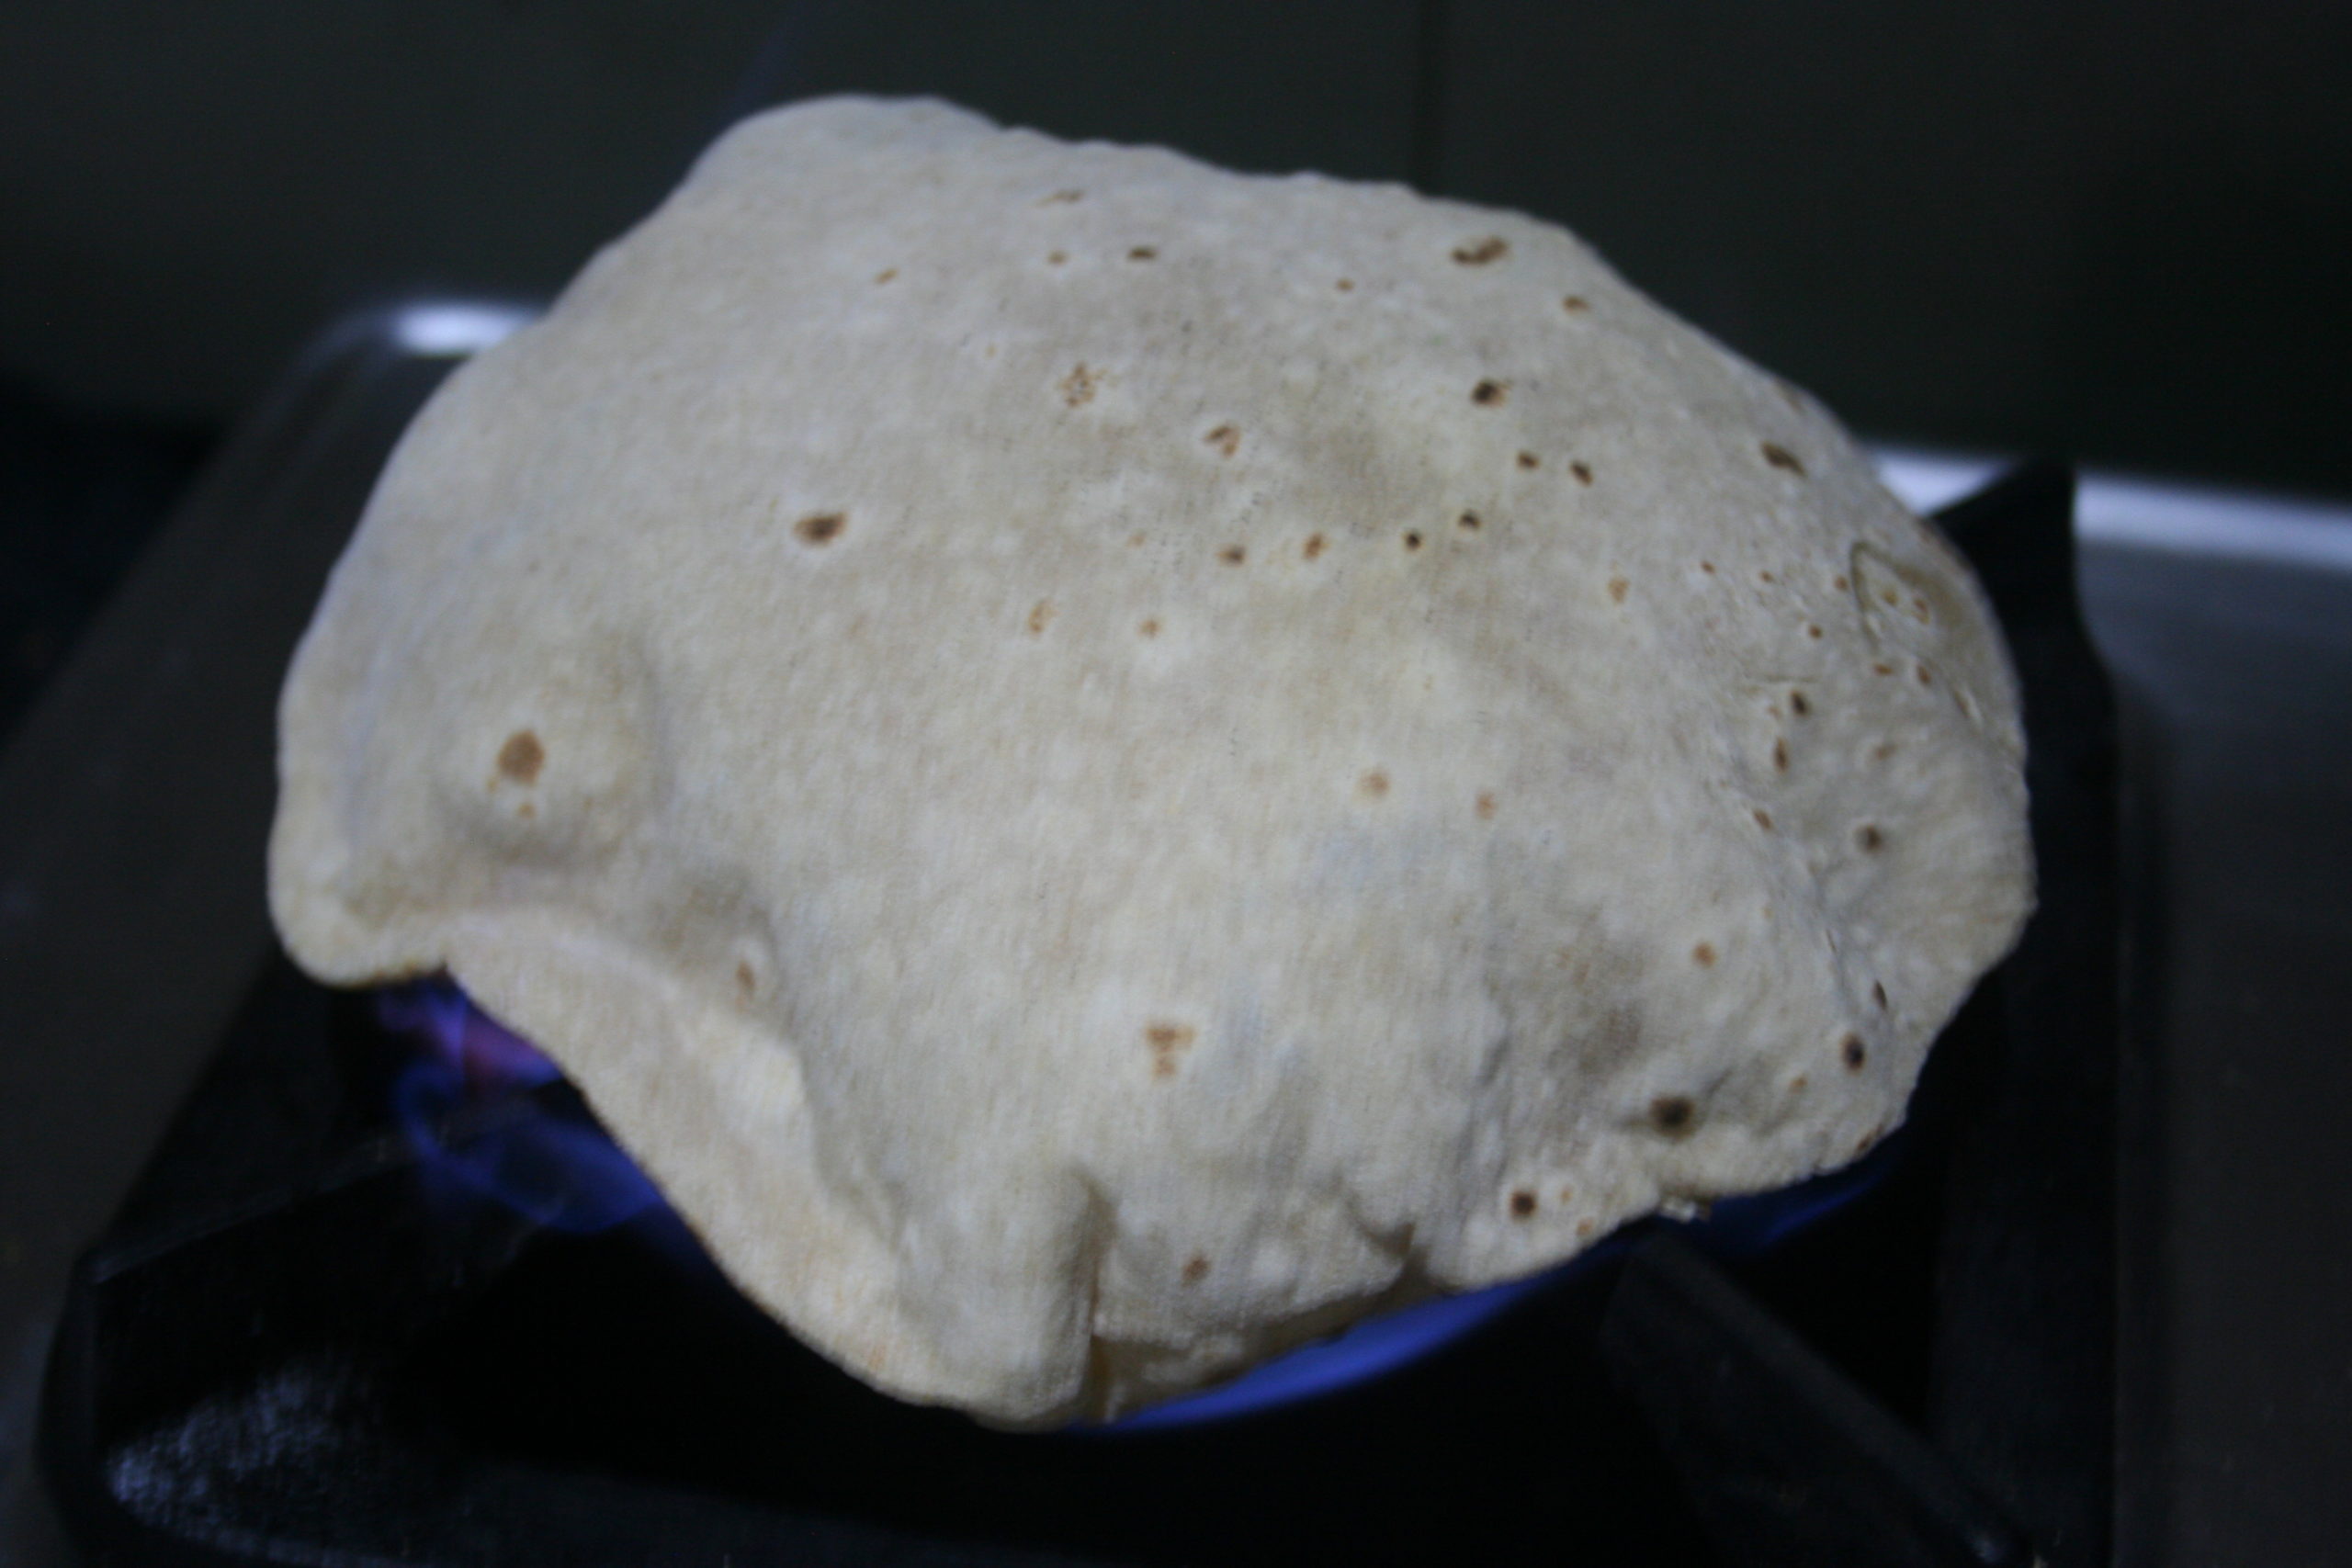
17. The roti should start puffing up, forming a ball. When the roti is nearly fully puffed, gently pinch the very edge of the roti and flip to the other side. This happens rather quickly, so keep an eye on the roti.
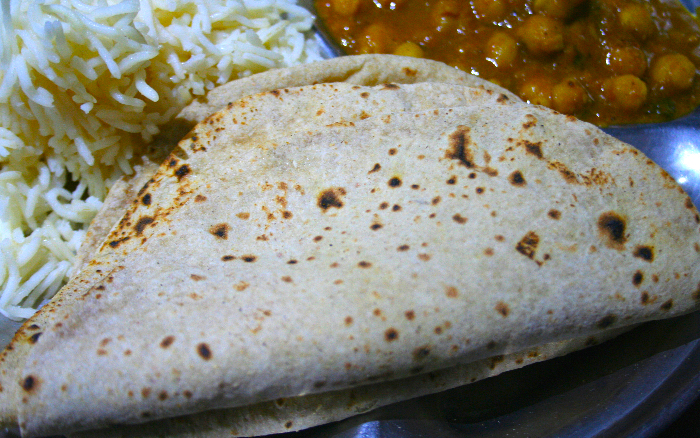
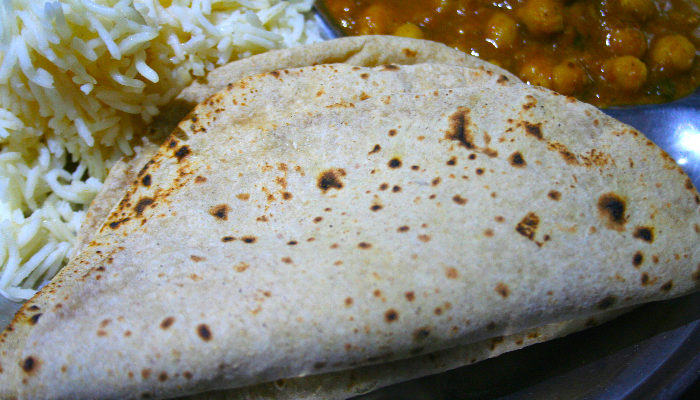
18. A fully cooked roti will have brown speckles on both sides of the bread.
19. Put the finished roti on a plate with a clean cloth or newspaper on top.
20. Continue making roti until you have enough rotis for your meal.
21. When finished you can either serve the roti immediately or encase them in the cloth or newspaper to ensure they stay soft when you’re ready to eat.
Tips for the best roti
The more perfectly spherical your original dough ball is, the rounder your roti will be. I learned to roll the dough into a ball using the palm of my hand and the rolling board as a base. It takes practice but is faster and makes rounder rotis than if you make the dough balls with both hands.
The stickier/wetter your dough is, the softer your rotis will be. There is a drawback to this, especially if you’re just learning how to make rotis, because if you press too hard while rolling the roti will stick to the board and be ruined. Make your dough soft enough that it doesn’t stick to your fingers when you poke it, but that it sticks to your hand when you rip a piece out of the dough. It takes practice to get a “feel” for the correct texture, and everyone makes their roti dough a little differently.
If your roti has too much dry flour on it when you finish rolling it out, gently take the roti in both hands and rub the excess flour off. If your roti is too floury it will be dry and hard.
Let the dough rest for at least 20 minutes before cooking. This gives the gluten time to form, and makes for a stretchier dough. If you’re in a rush you can make the roti immediately but they won’t be as soft.
Get more like this—Sign up for our daily inspirational newsletter for exclusive content!
__
Photo: Jessica Ferguson