Months ago, I was browsing YouTube and ran into a video called “makeup mistakes to avoid.” I’d always thought of myself as “pretty good with makeup,” so just imagine my surprise at being awakened to a whole new beauty reality. This made me realize what I’d been doing wrong with my makeup, and more specifically, why it looks good to me in real life, but never photographs as well.
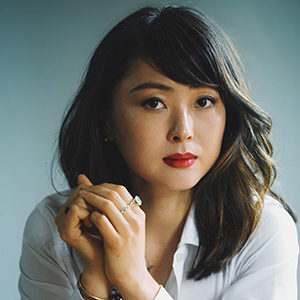
For example, this headshot form two years ago has been smoothed down with expert photoshopping by the photographer; but before that, I was amazed at how my “dewy glow” translated to shine at all the wrong places, like my under-eye bags. Oh, the dreaded under-eye bags! Even the areas where dewiness looks great in real life, like the bridge of the nose and cheeks, didn’t highlight those areas as much. And lack of any contouring flattened my natural cheekbones (they’re there, I swear!!). Whether you’re getting your pictures done professionally for a headshot, an engagement, a wedding, etc., or you want to troubleshoot your selfie situation, here’s what you should do for makeup that looks amazing in photos.
Do not skip primer
At my photo shoot, I skipped primer and proceeded directly to foundation and concealer. This makes the products harder to blend and fade away more quickly. With the right primer, you can get away with using less foundation and concealer, which actually leads to looking more natural. I love Lune+Aster RealGlow Primer, which has a hint of shimmer and a nice grip that provides a smooth base, including the under-eye area. It does give you that lit-from-within look, and can be worn by itself for everyday. 
Lune+Aster RealGlow Primer, $32
Use concealer to lighten dark corners
After primer, apply foundation with a wet brush or a wet sponge, focusing on tapping and blending movements. Only then, you can dot concealer on the inner corners of the eyes, inner corners of your brows (!), bridge of your nose, outer corners of your nostrils, sides of your mouth, the bow of your lip, and under the eyes. I like Lune+Aster HydraBright Concealer, which blends without streaks and has a medium coverage.
Do not skip finishing powder
It’s not that I’ve never used finishing powder before. In fact, when I first started using makeup in high school, Bare Minerals was at the height of its powers, and I used a dusting of its translucent powder every day. But as dewy skin took over the beauty world, finishing powder felt like a relic of my mother’s time. While I still think powder-less skin is natural and beautiful for everyday living, in photos, powder prevents light reflecting off all the wrong places. Lightly dust over your face, even under the eyes, and focus on the forehead, nose, and chin.
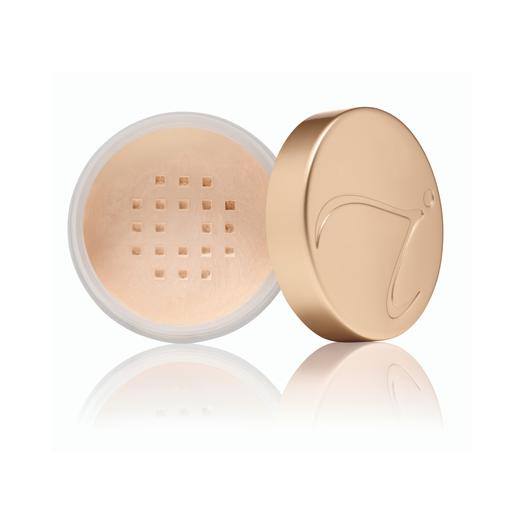
Jane Iredale Amazing Matte Finish Powder, $36
Perfect for those of us who want our products to be as pure as possible, this finishing powder is made of rice starch and skin-protecting pomegranate extract.
Bonus tip: Take a break
It’s totally okay / beneficial to take a break from makeup to let everything sink into your skin. It’s a tip I learned from supermodel Candace Swaponel in Vogue, and you’ll avoid all the other elements from mixing together into a jumble. Personally, I also like to mist very lightly with rosewater toner at this stage to set the whole thing more naturally.
Do not skip contouring
Are you sensing a trend here? Photo makeup is all about not skipping steps / products. I confess not owning a ton of products, and I love the simplicity of my daily routine (sun protection, eyebrows, liquid eyeliner, lipstick—that’s it!). But on special occasions, you will be glad you put in the effort of contouring. The key is to not use a shimmery bronzer as your contouring powder, a serious mistake I wish I could warn my early-twenties-self about. I used to swipe Nars Bronzer (this was before my cruelty-free vegan beauty days) all over my cheeks hoping to chisel them, and all that did was make my face look like a dirty disco ball. Choose a matte powder in the darkest shade your skin could naturally get (maybe after a summer-long beach vacation) and shade just under your cheekbones and wherever you want more sculpting, according to your face shape.
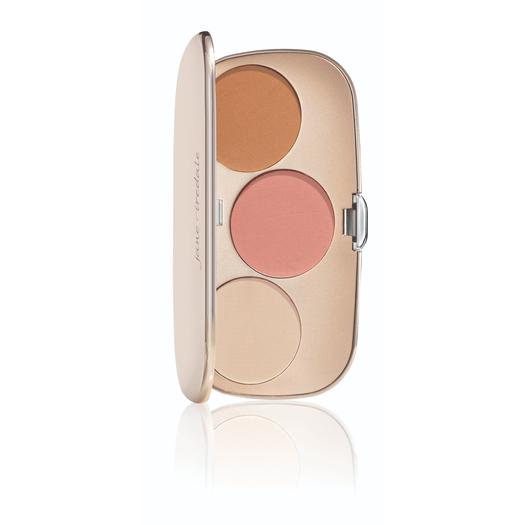
Jane Iredale GreatShape Contouring Kit, $49
Pine bark extract gives this pleasingly matte pressed powder extra antioxidant power.
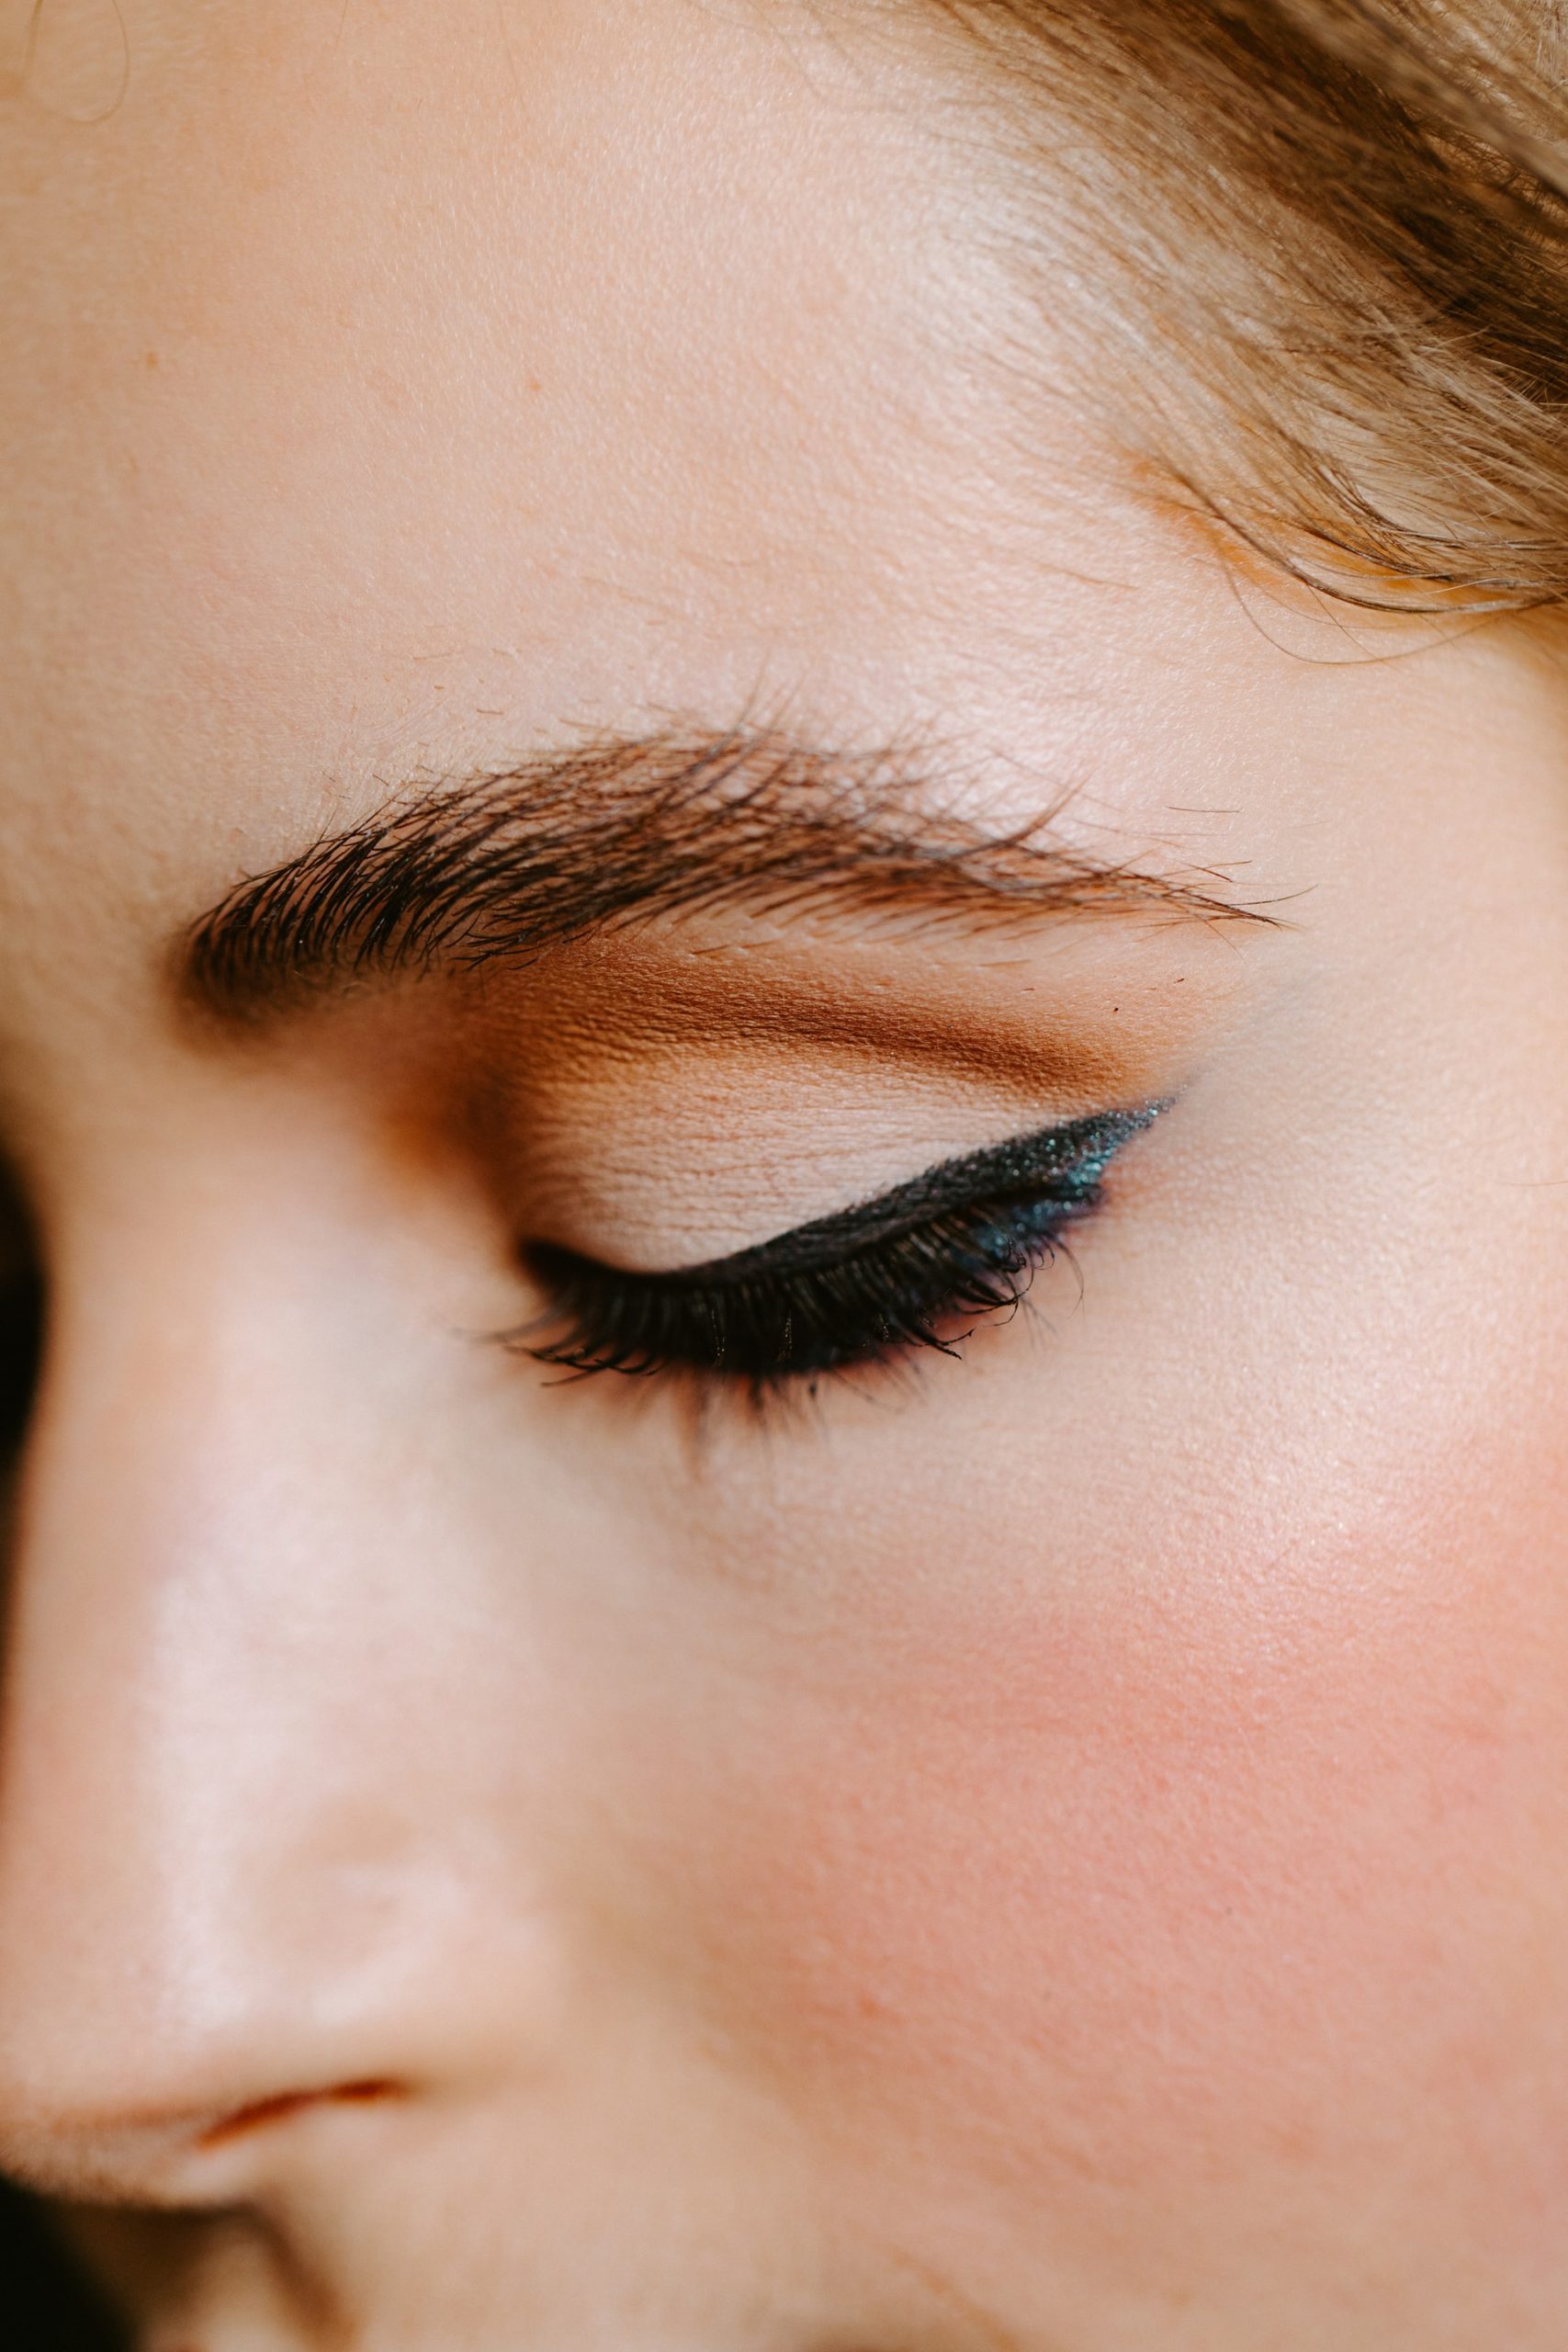
Lift your eyes using eyeshadow
Everyone’s eyes are shaped differently, so the principle is almost more important than which shade you put where. (For example, my Asian eyes won’t be complemented by “contouring” of the eyelid as much.) Think of eyeshadow placement as a way to lift your eyes up and outward—as you age, your eyebrows and eyelids lower (bleh), so this is one way you’ll immediately look wide awake. For example, darkened lower lashline makes the eyes travel downward. Darkened and winged upper lashline will give the impression of lifted eyes. (If you look at my headshot again, you’ll see how I’m making all those same mistakes with eyeshadow. 😞 )
Have you made any of these makeup mistakes? (Just me?)
Get more like this—Sign up for our daily inspirational newsletter for exclusive content!
__
Photo: Bitna Chung; respective brands; Taylor Heery via Unsplash