Pollinators are crucial for crop production and the overall world economy, and yet they are disappearing at alarming rates. According to Greenpeace.org, the number of bee colonies per hectare has experienced a 90% decline since 1962. And with bees accounting for 90% of the world’s nutrition, the disappearance of pollinators poses a massive, ecological threat.
While further governmental action—from pesticide regulation to preservation initiatives—are essential for pollinator survival, we each can do our part to protect these precious and productive species.
Beyond being the perfect springtime project, pollinator gardens are also a great way to do your part in restoring local habitats for the restoration of pollinator species. Find out how to start yours here:
What Is A Pollinator Garden?
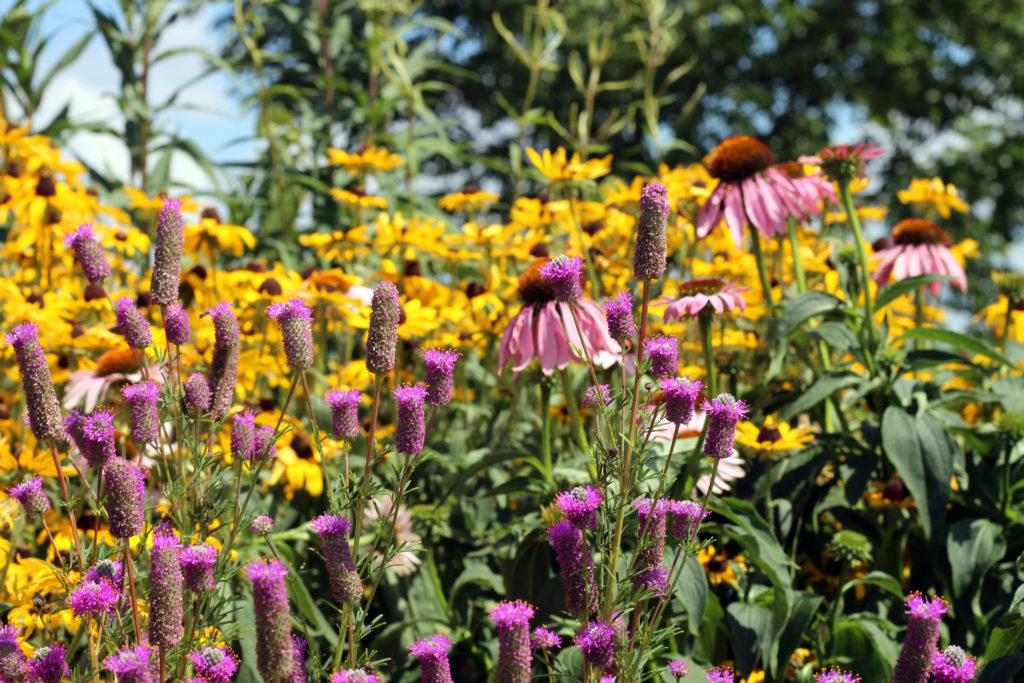
A pollinator garden is a space that provides a thriving ecosystem for the growth and sustenance of local pollinators through a mixture of nectar-rich plants, protective plants, and sufficient sunlight. Beyond being a sanctuary for pollinators, a pollinator garden can also improve your own vegetable / fruit garden, clean your air, and control unwanted pests in your backyard.
Creating Your Garden
Step One: Pick Your Plants
To start your pollinator garden, you’ll first need to research native nectar and pollen-rich plants in your area. Native plants are hardier, require less maintenance, and are already adapted to your local climate (you can find out what plants are native to your area here).
Pick a variety of native plants that bloom at different rates to keep your pollinators thriving and active from early spring to late fall. Regardless of what plant types you choose, make sure the plants have not been treated with pesticides, insecticides, or neonicotinoids. These treatments are harmful for pollinators and can harm reproduction, navigation, and memory.
Other considerations to contemplate include:
- Perennials vs. annuals – According to Dr. Cathy Neal of the University of New Hampshire, “Perennials have more high-quality nectar and pollen” making it the preferred option for a pollinator-friendly garden.
- Adult food vs. baby food – While adult pollinators prefer nectar and pollen-rich plants, butterfly and moth larvae need host plants to munch and crunch on as they grow and develop. Since these plants will have plenty of holes, consider placing it in a location that’s not as visible so as not to detract from the overall appeal.
- Seed packets vs. small plants – If you plan to use seeds instead of nursery-started plants, plant them ahead of time in the fall or winter so they have time to germinate. Nursery-started plants typically yield a faster return, but cost a higher fee that may factor into the decision you make.
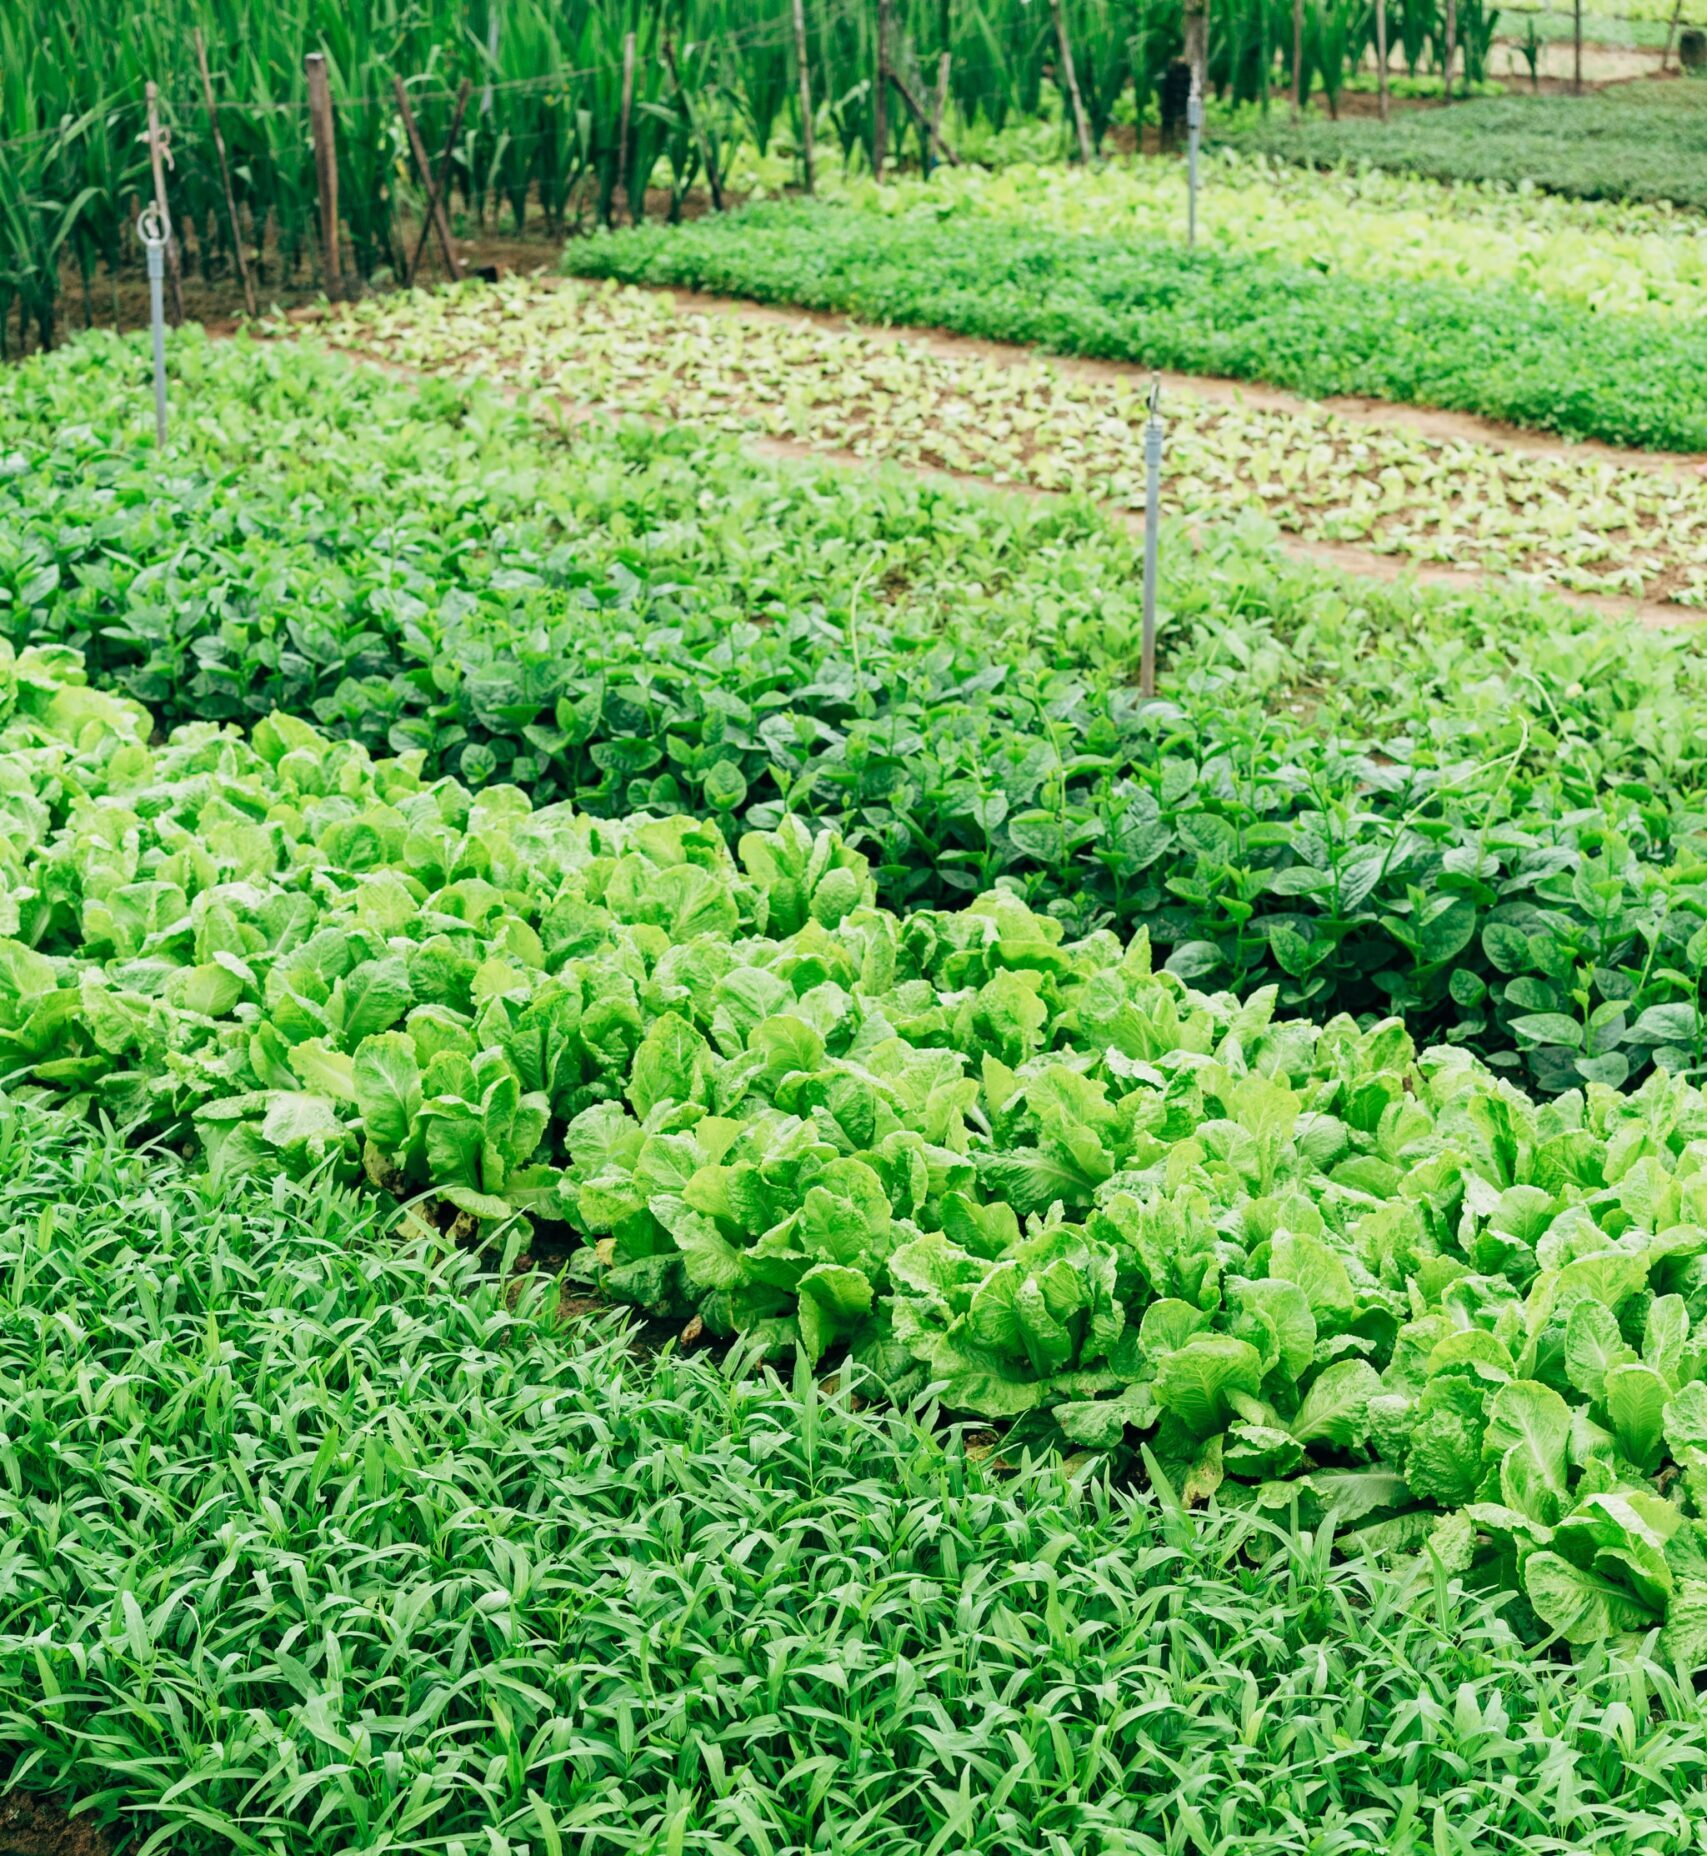
Step Two: Prepare Your Pollinator Plot
Although you should first research the needs of your specific plants, the general rule of thumb is to find a sunny spot with windy breaks and a muddy section or salt lick where insects can access water and soil minerals. To create your salt lick, you can either buy a salt block from the store or place a bird bath on bare soil, mixing salt or wood ash into the mud.
When cultivating your garden, The Gardenista recommends planning one plant per square foot to create a denser garden to minimize weeds and lock in moisture. Other considerations include grouping moisture-loving plants together, creating ‘massings’ of four or five plants together, and planting tall plants toward the center of your garden so they’re easier to reach.
Step Three: Provide Pollinator Habitats
Another major contributor to the decline in pollinator species is lack of habitat access, so consider ways to create nesting materials and other protective habitat elements. Decaying wood, leaves, and plants like milkweed all provide functional housing for pollinators such as bees and butterflies. Don’t forget to mow less—here’s why No Mow May is key to preserving these natural elements. Other pollinator garden projects can include bee condos, hummingbird feeders, and butterfly houses. You can learn more about how to make a DIY bee condo here.
Step Four: Weed, Water and Wait
Your pollinator garden will not pop up overnight, but rather will take time, patience, and persistence. As your pollinator plants grow, make sure to weed as necessary and maintain the recommended one inch of water per week (especially for the first year of your pollinator plot). Soon enough, you’ll start to see a magnificent fauna of bees, butterflies, and other beautiful bugs buzzing about your pollinator plot.
Stop by your local nursery or garden center today, and support the restoration of bees and other pollinators in your area. To connect with others, you can register and view the million (and growing) pollinator plots across the world here.
Get more like this—Sign up for our daily inspirational newsletter for exclusive content!
__