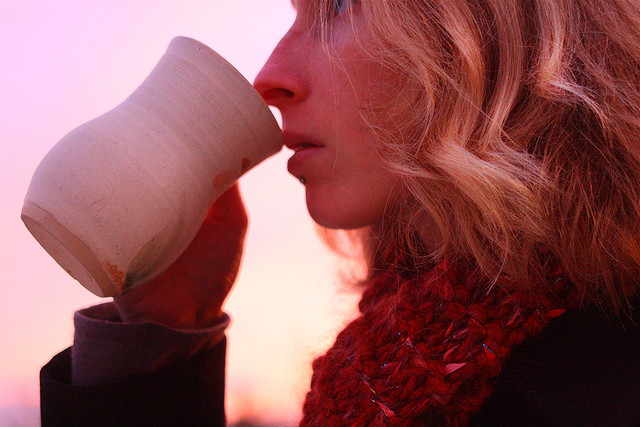
With summer slowly fading away and all of the perks of fall settling in, it’s time to get into the spirit of the season. One of the best parts of fall is being able to enjoy the rich beauty of the fall foliage. The earthy, warm tones that nature gives to us are not only beautiful as a part of our environment, but they also translate wonderfully into our beauty routines.
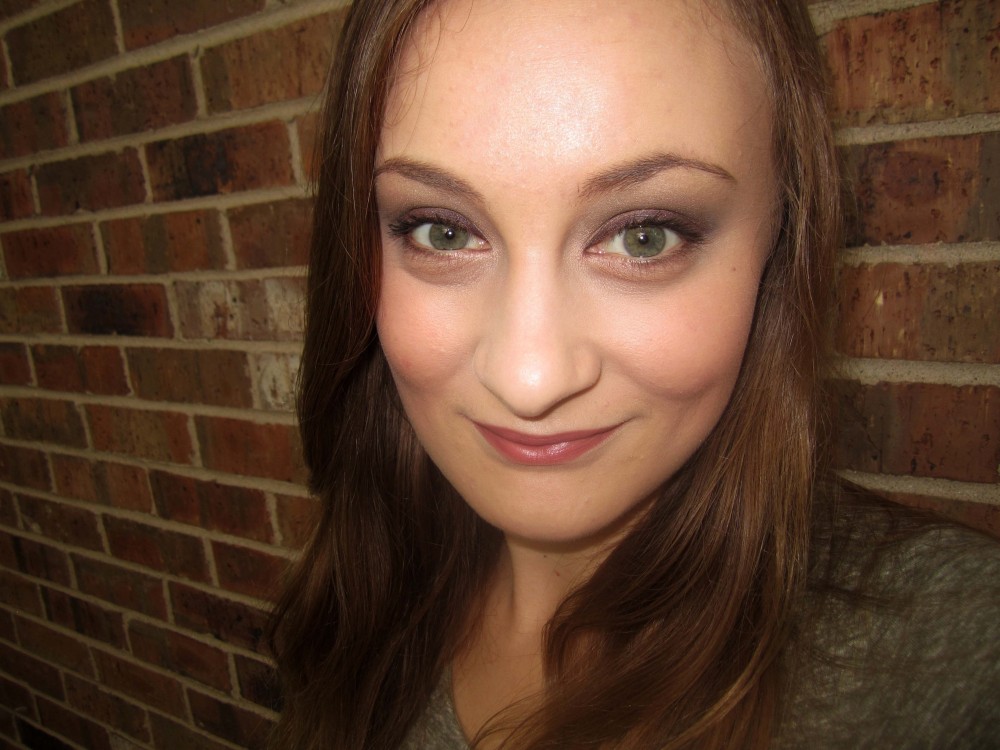
A beautiful, warm jewel-toned smokey eye is the perfect way to celebrate and appreciate the beauty of the fall season.
Check out my tutorial below to help you get glowing this fall!
What You’ll Need:
- Your favorite foundation
- An array of warm, metallic eye shadows: a rich purple, a light gold, an earthy green, and a creamy highlight
- An eye shadow primer
- An eyebrow powder or eye shadow to use as an eyebrow powder
- A voluminous mascara
- Warm, peachy blush
- A bronzer/contour powder
- A highlighting powder
- A dark pink lipstick
- A clear or dark pink lip liner (optional)
The Steps:
1 Apply your favorite foundation and conceal any blemishes or complexion imperfections. For major acne or discoloration coverage, I conceal with Cover FX concealer before applying my foundation. For minor imperfections, you can spot cover anything that your foundation does not cover after applying it.
2. Next, apply an eye shadow primer (my current favorite is from Be Conscious Cosmetics, available on Etsy!) with an eye shadow brush or your fingertip. Applying a primer prior to applying your eye shadow will make sure your colors stay vibrant and that the shadows stayed locked in place.
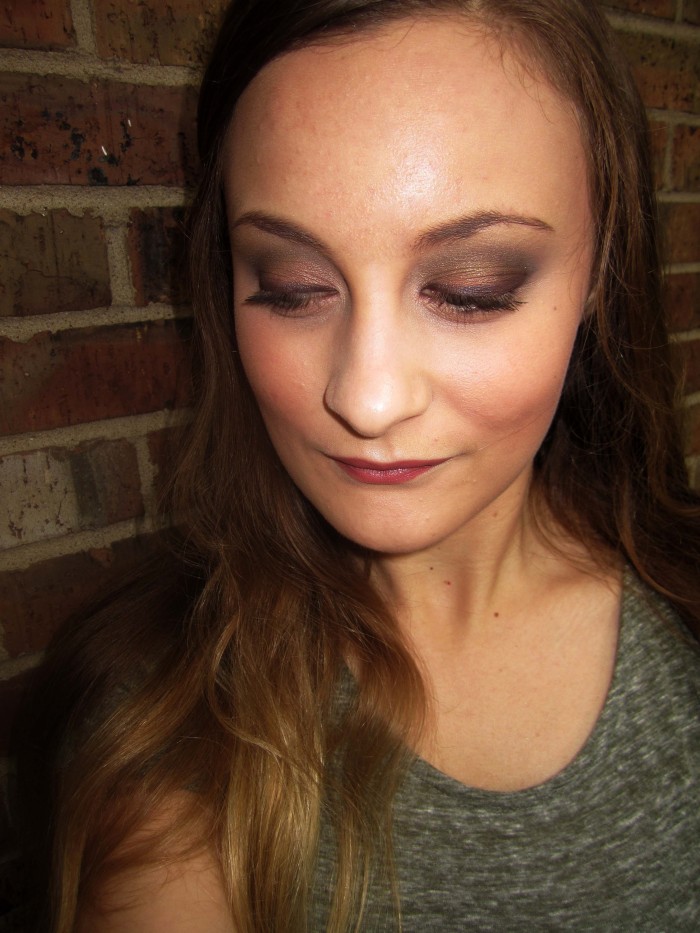
3.Once you apply your eye shadow primer, you are ready to apply your eye shadow. This look is all about playing with the warm, metallic shades that are so popular this fall! For my specific look, I used a combination of Ambiguous You, Addictive Cosmetics, and Pacifica eye shadows.
- The first shadow that you are going to apply is the golden/bronze-y shade (Ambiguous You “Goldstone“) to your eyelid only. This will be your base color.
- Next, using a creamy highlight color (I used one of the lightest shades in Pacifica’s “Power of Love” eye shadow palette), highlight from underneath your eyebrow to your eyelid. Blend your highlight color into your base color.
- After applying your highlight color, you will begin applying your crease colors. To get this specific look, I combined a light green eye shadow (Ambiguous You “Peridot“) and a deep purple-brown eye shadow (Addictive Cosmetics “Ursula“) into my crease. First, apply the light green shade from the inner corner of your eye to the outer corner of your eye along your crease. Blend this shade into your eyelid base shade and your highlight shade. After blending, apply your deep purple-brown shade from the middle of your crease to the outer corner of your eye and onto the outer edge of your eyelid. I prefer using a rounded contour eye shadow brush and applying my crease colors in a circular motion to achieve the “smokey” effect. Blend this final crease shade into your first crease shade, your base eyelid shade and your highlight. Blending in that circular motion, particularly between the highlight and crease colors, is key to creating the highly sought-after “smokey eye.”
- After applying and blending all of your eye shadow, you will be applying your eyeliner. Dampen an angled eyeliner brush, and dip it into your deep purple-brown crease shade to create a matching eyeliner. By using that same color as an eyeliner, you will be able to blend your eyeliner seamlessly into your crease. Create a line from the inner corner of your eye into your crease shade–extend the line into a cat’s eye shape if you would like! I chose to blend mine into my crease color instead, which can be easily done with the round contour eye shadow brush and the circular motions I described above.
- Curl your eyelashes and apply two coats of your favorite mascara (Too Faced Better Than Sex mascara is still my current favorite!), allowing time for your lashes to dry between coats.

4. After completing your eye make-up, it is time to fill in your eyebrows. Feel free to skip this step if your brows aren’t sparse or in need of shaping! I used a taupe shade from Pacifica’s “Power of Love” eye shadow palette and an angled eyeliner brush to fill in my brows. The most effective and natural way to fill in your brows is to begin filling them in in the center of your brow. Fill them in from the center to the end of your brow and then from the center to the beginning of your brow. Do not create a harsh line at the beginning of your brow–the goal is to create a natural flow from the beginning to the end of your brow without creating any blockiness. Well-groomed brows can really make or break your beauty make-up!
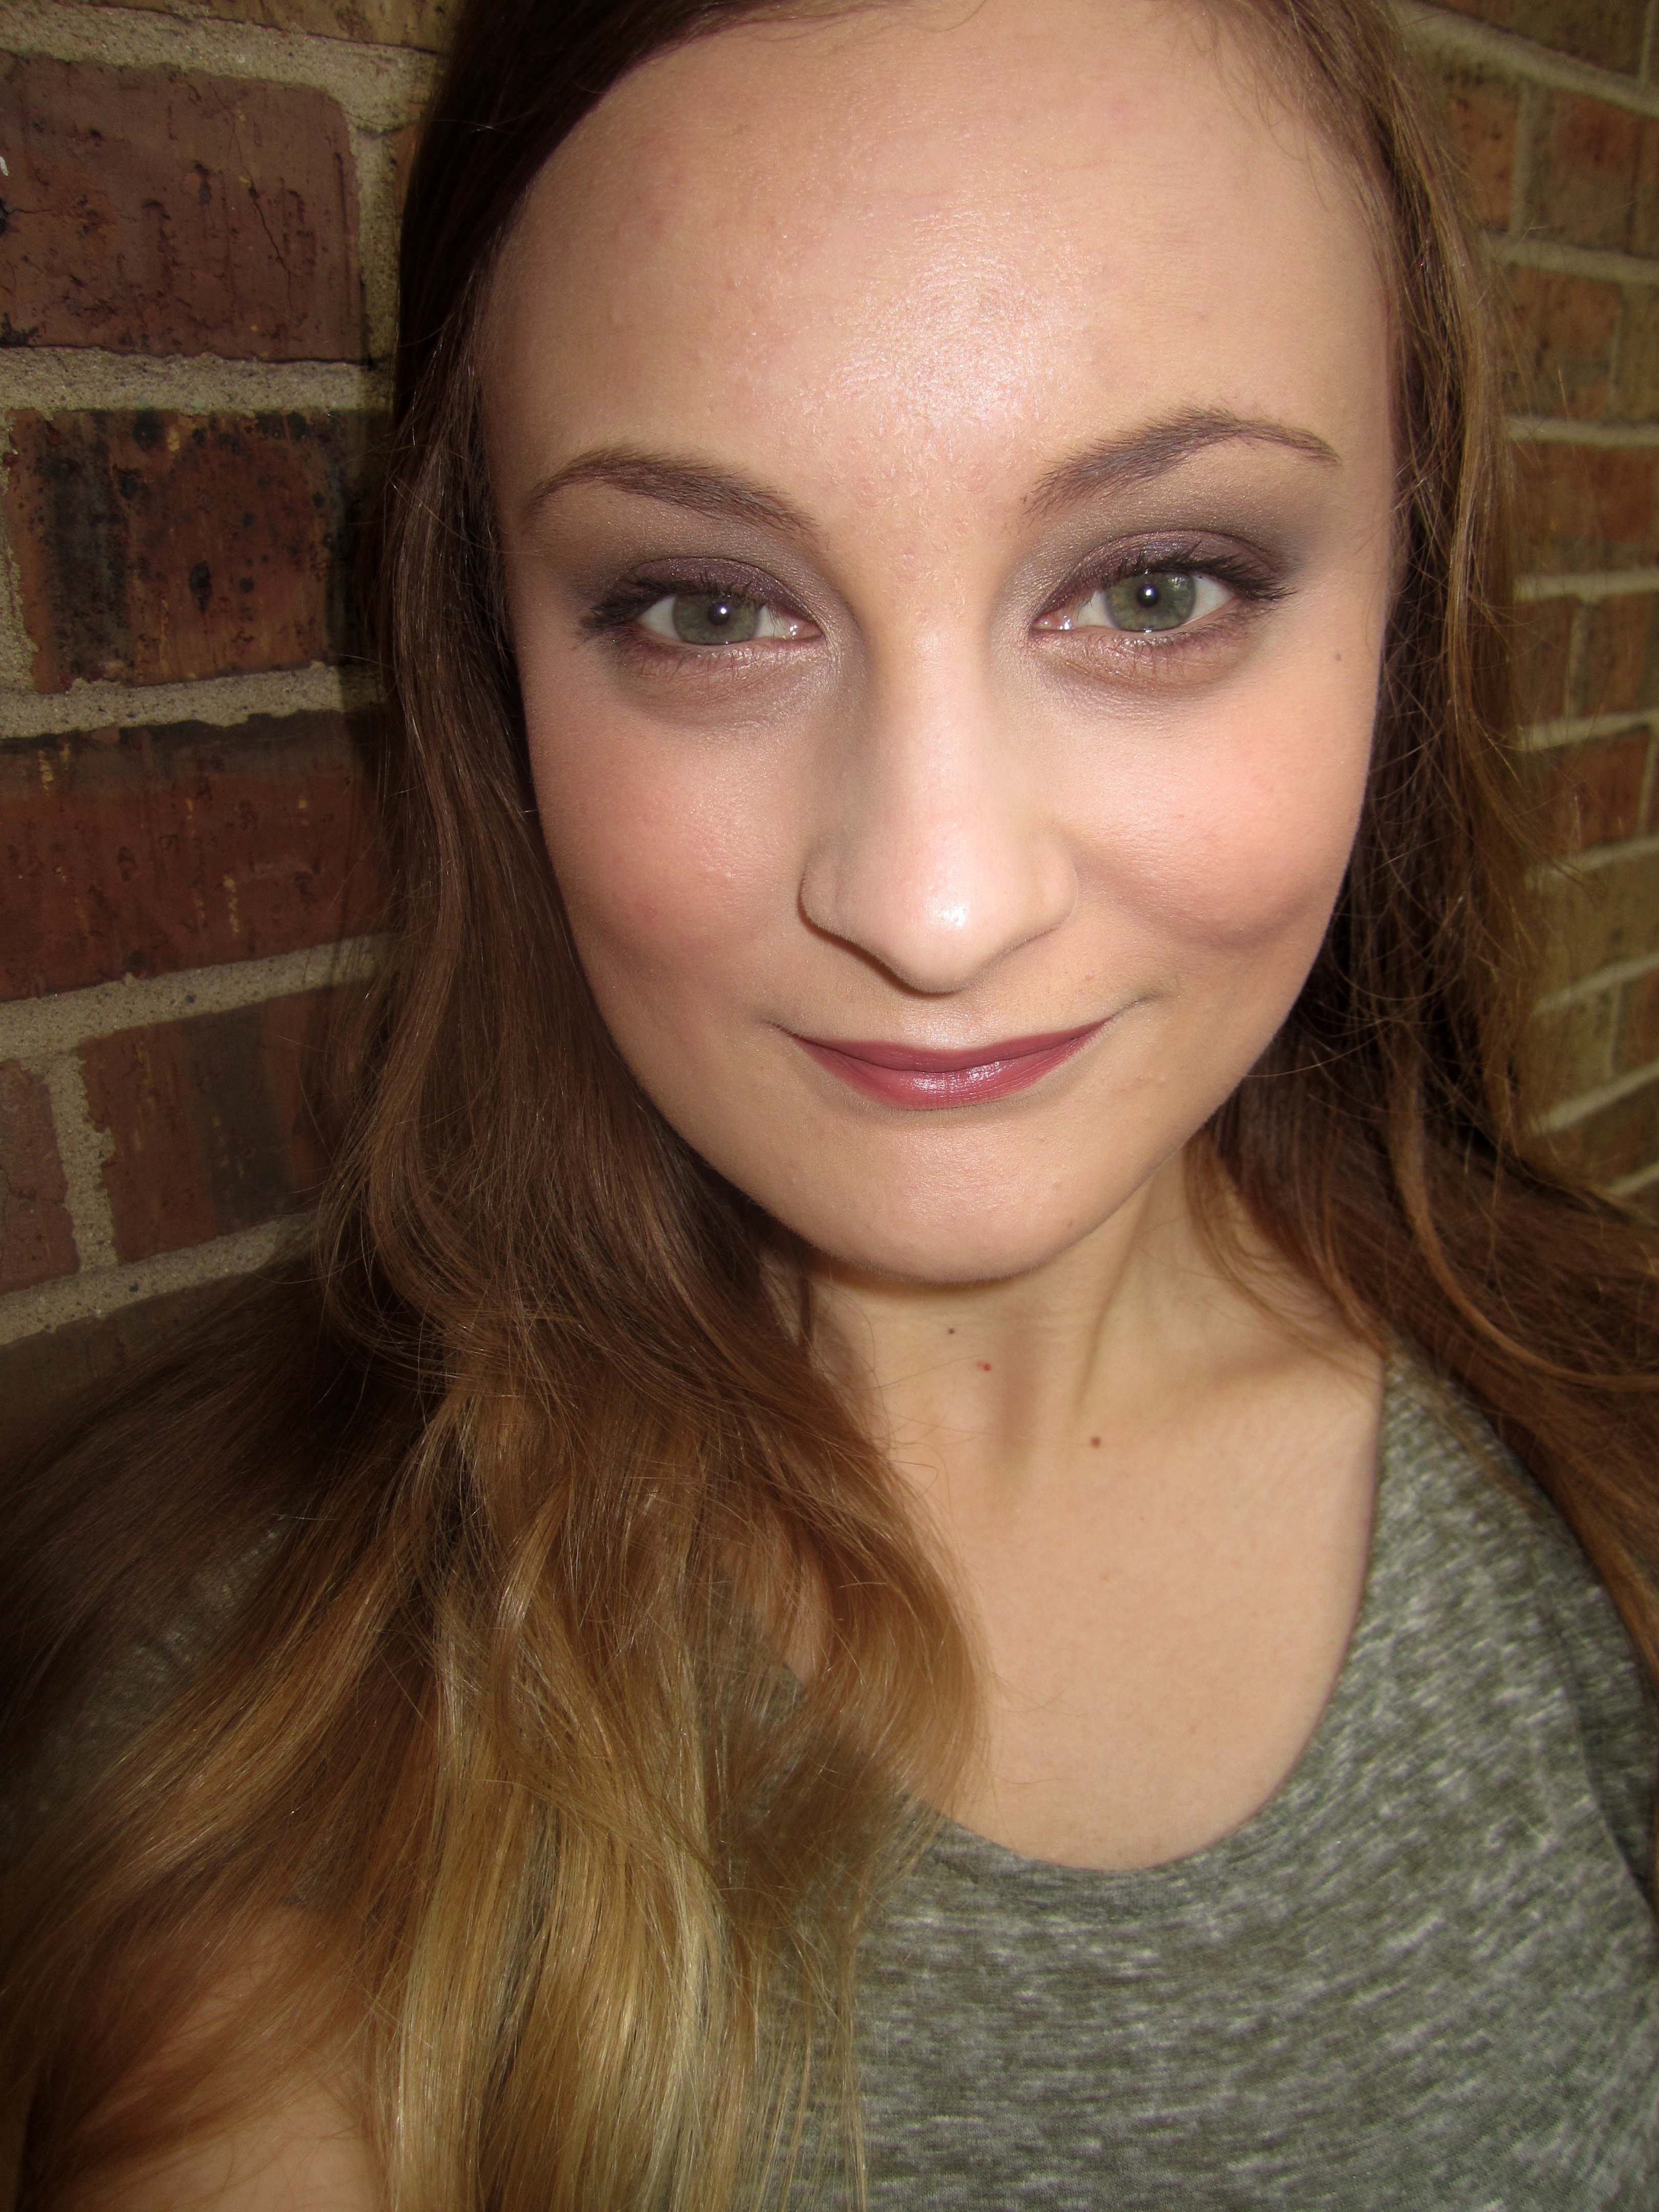
5. Next, it is time to contour your face. I prefer to use powders to contour so that I can achieve a more natural look, as opposed to the heavy cream contours that are so popular right now. First, apply your bronzer/contour powder (I used Etherealle’s bronzer in “Hollow“) with a fluffy angled powder brush to your cheekbones, along your jawbone, and from the top of your forehead into your hairline. Then, apply your highlight powder (I used Etherealle’s highlight in Stark) with a fluffy powder brush underneath your eyes, onto the apples of your cheeks (it will shine through your blush and give you a luminous glow!), down the bridge of your nose, and onto the center of your forehead. You may also highlight above your upper lip and onto the center of your chin to further highlight your face; highlighting above your upper lip will help your lips appear fuller. Next, add your warm, peachy blush (I used 100% Pure’s “Mimosa”) to the apples of your cheeks, blending upwards into your hairline and your contour color. Use your highlight powder to blend your blush into the rest of your make-up–do so in small circular motions to blur the edges of your make-up and erase any harsh lines or shapes.
6. To complete your sultry fall look, add a dark pink lipstick, such as Gabriel Cosmetics lipstick in “Clay.” Adding a deeper pink tone will give your lips enough color to make them pop, but they will not be so strong that they fight against your eye make-up. Feel free to line your lips prior to applying your lip color (try Addictive Cosmetics lip liner in Native to complement this specific lipstick shade!). I often use a clear lip liner to clean up the edges of my lipstick after applying it–it will smooth out any uneven lines or smudges that might have been created.
7. Your sultry fall look is complete!
What’s your favorite way to add a little touch of fall to your beauty routine?
Also by Becky: Boho Chic Makeup and Hair Tutorial
Get more like this–sign up for our newsletter for exclusive inspirational content!
___
Photo: Becky Curl


