
- 1 tbsp grounded flax seeds
- 3 tbsp water
- 1 cup walnut plant based milk
- ½ cup canola oil
- 1 tsp vanilla
- ½ cup raw cane sugar
- 1 ½ cup all purpose flour
- 3–4 tbsp coffee powder
- 1 tsp baking soda
- Pinch of salt
- ½ cup toasted walnuts (roughly chopped)
- 9 pieces whole walnuts (for toppings)
- 1 can coconut milk (save 2 tbsp milk for slurry)
- 2 tbsp cornflour
- 1 vegan chocolate bar (roughly chopped)
- 1–2 tbsp coffee powder *optional

Directions
1. Firstly prepare your vegan “egg” by combining your water and grounded flax seeds then set aside. If you cannot find grounded flax seeds in your area, you can simply process or blend up whole flax seeds into fine grounded powder.
2. While waiting for your vegan egg mixture to form, toast your walnuts over a small pan in low to medium heat until toasted. Set aside to cool down.
3. Next in a big bowl, merge your wet ingredients (walnut milk, oil and vanilla) and raw cane sugar together.
4. Then sift your flour and baking soda over your wet mixture. Add however much coffee powder you would like depending on how much coffee taste you enjoy and a pinch of salt to bring out the sweetness of your cake and mix lightly.
5. After that, roughly chop up your walnuts (leaving some for toppings later) and add into your batter and gently fold.
6. Transfer to your non-stick baking tray (squared) and bake at 150°c for 30–40 minutes until fully baked.
7. During baking, make your chocolate custard frosting: mix your cornflour and your saved coconut milk for your slurry and set aside.
8. Add the remaining coconut milk onto the pan on low to medium heat until it simmers.
9. Adding your roughly chopped vegan chocolate chunks, let it melt into the milk while whisking.
10. This next step is optional if you would like to also make your custard have some coffee taste, add 2–3 tbsp of coffee powder and whisk until dissolved.
11. While whisking, add your slurry and quickly stir until thickened and have your very own custard!
12. When your cake is ready, let it cool down completely.
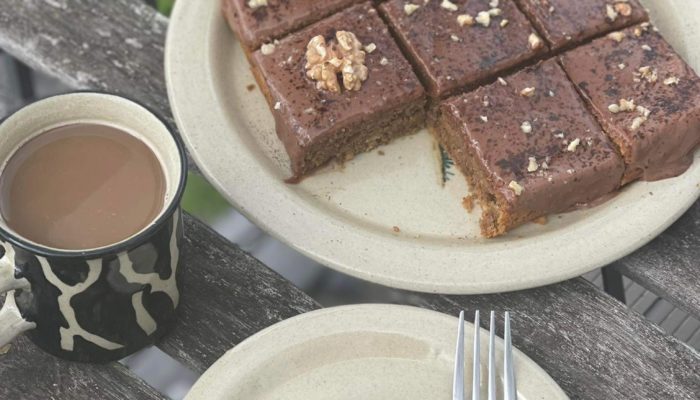
13. Pour over your custard frosting and add your whole and crushed walnuts as toppings as you like and cut into 9 squares. Optional: sift and dust some coffee powder over your cake and enjoy.
Get more like this—Sign up for our daily inspirational newsletter for exclusive content!
__
Photo by: @BelBrosasFaustino