Be warned, a DIY salon manicure will have you showing off your hands every chance you get.
Salon manicures always looks très perfect and tend to last a good while, but the cost can add up. Plus, you don’t always have complete control over what products go on your hands, which is why I’m a huge fan of the home salon.
After practicing a few simple techniques, your digits will be rocking a professional-looking mani, and your friends will ask you where you get your nails done. Just say, “On my couch!” and watch their eyes widen.
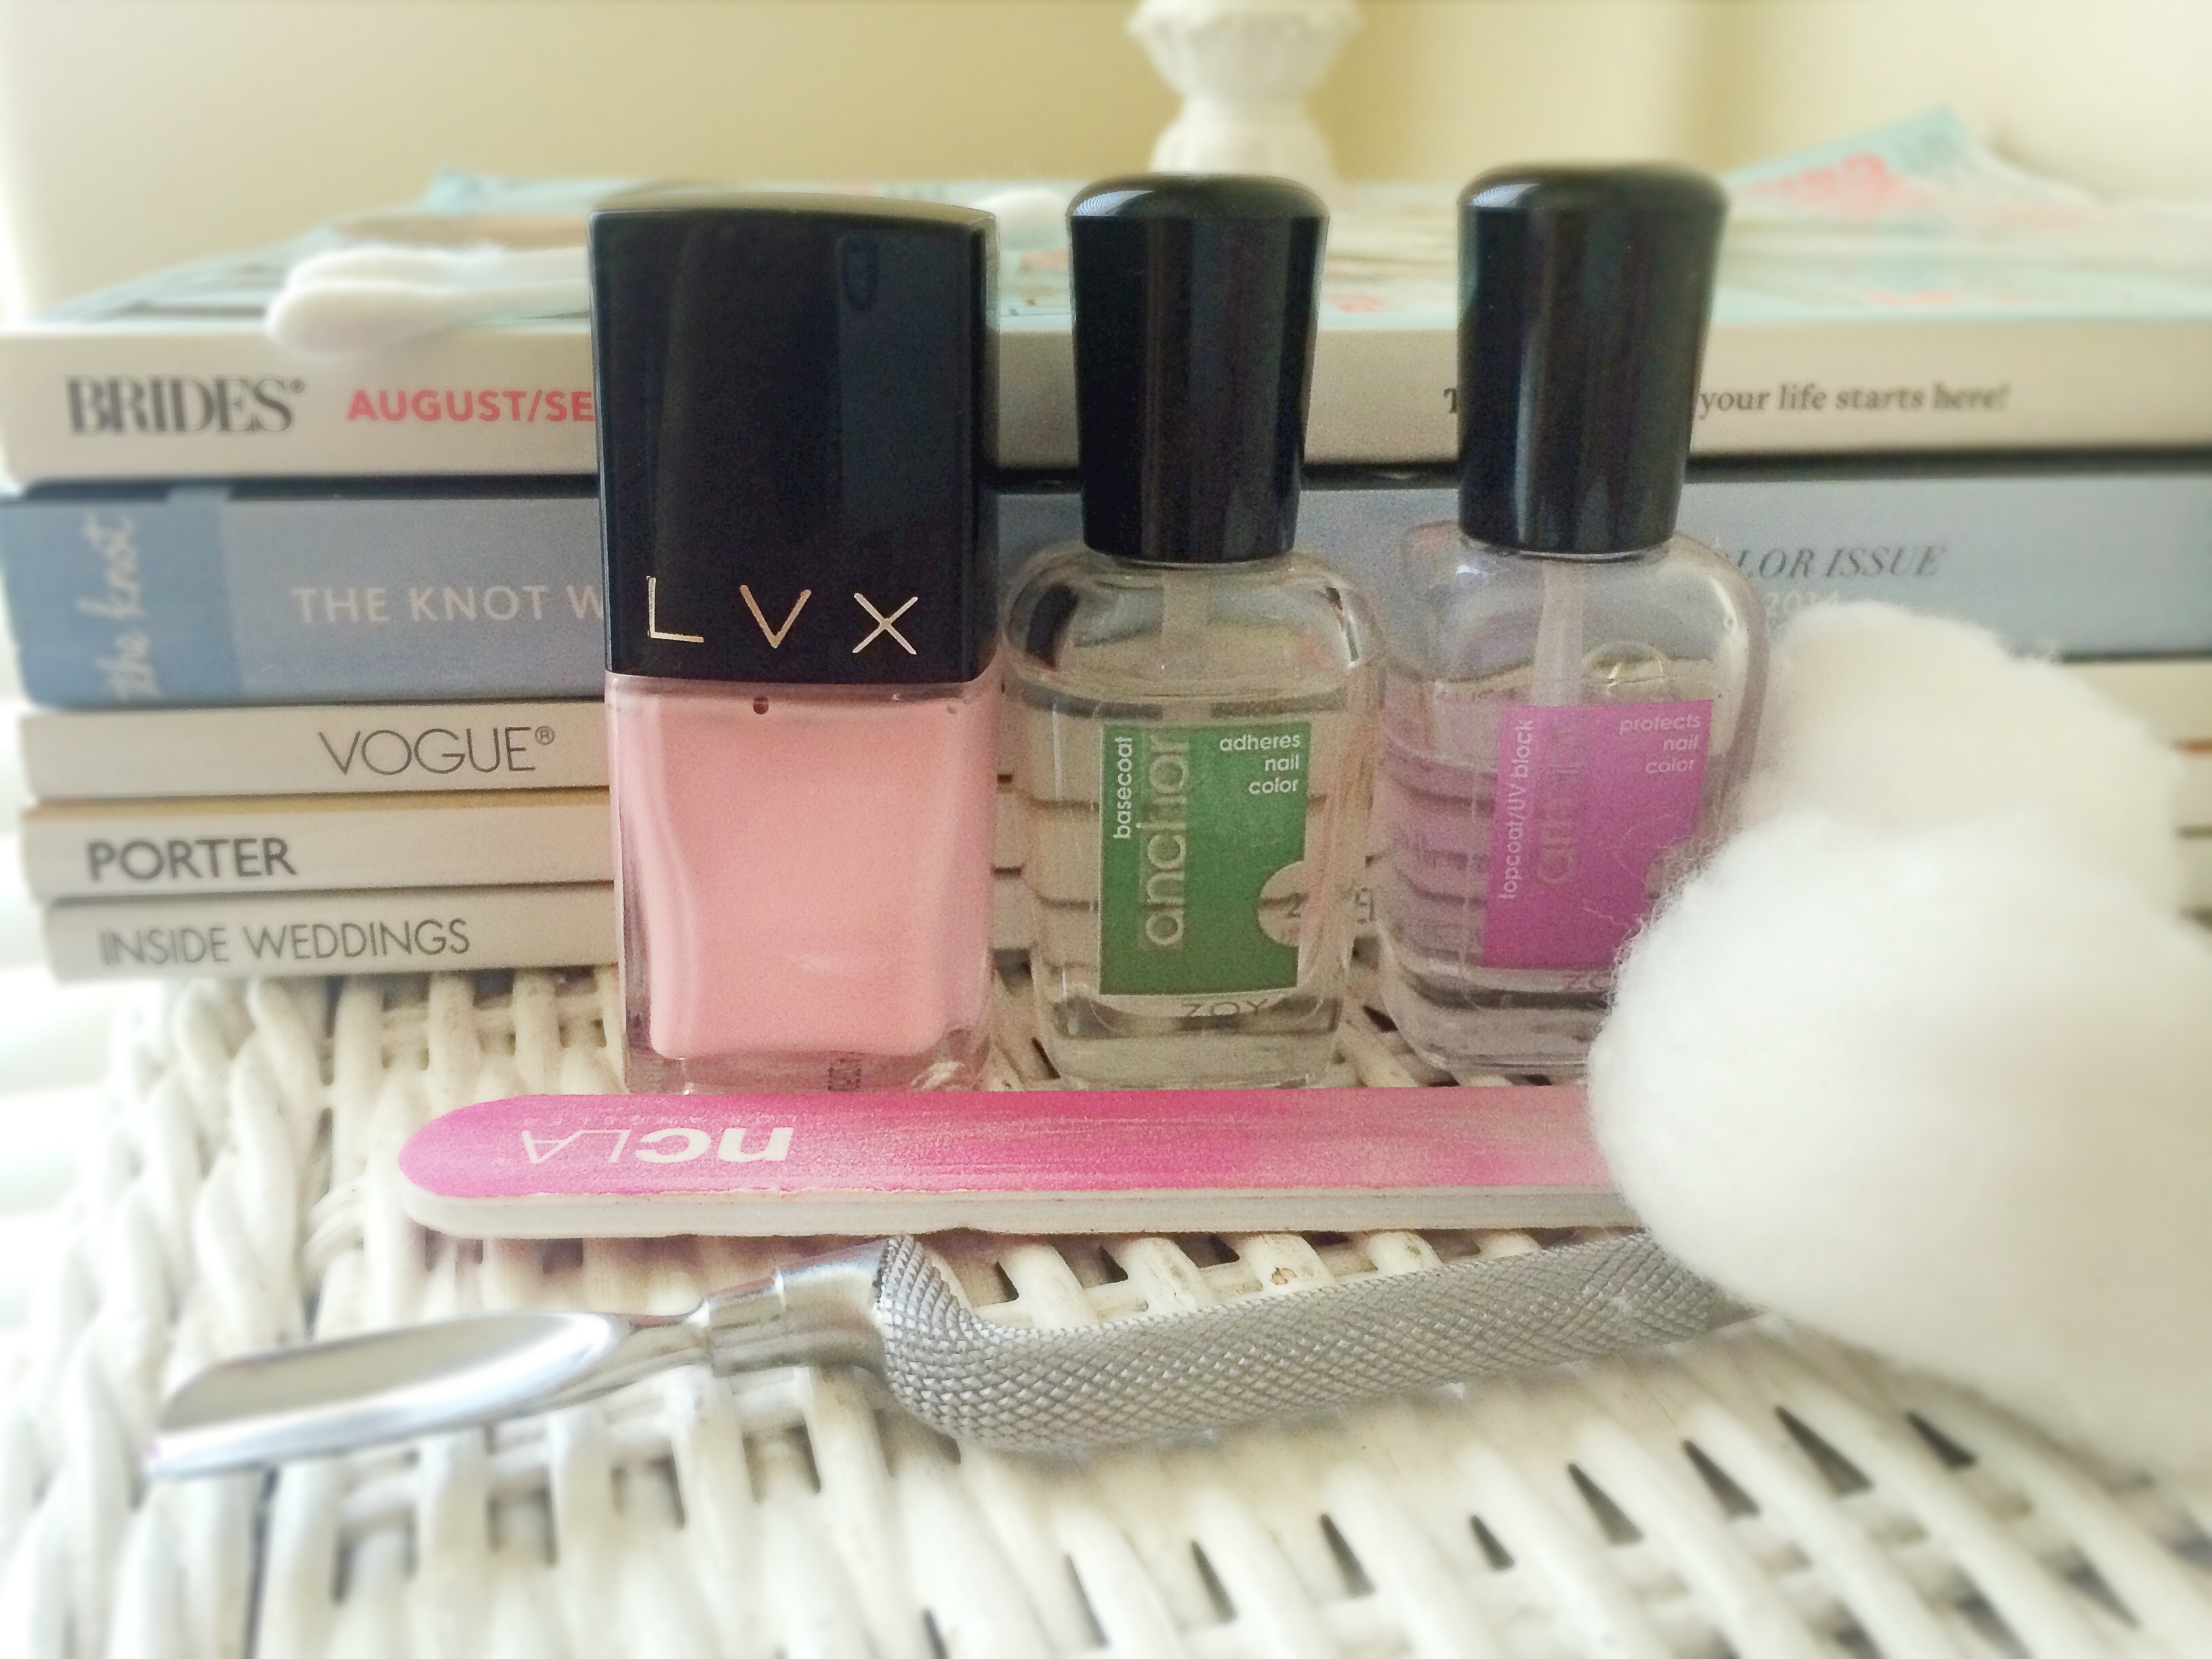
You’ll need: cotton swabs, nail brush, nail polish remover, lotion, q-tips, emery board, cuticle stick, nail clippers, basecoat, color, topcoat, and a little patience 🙂
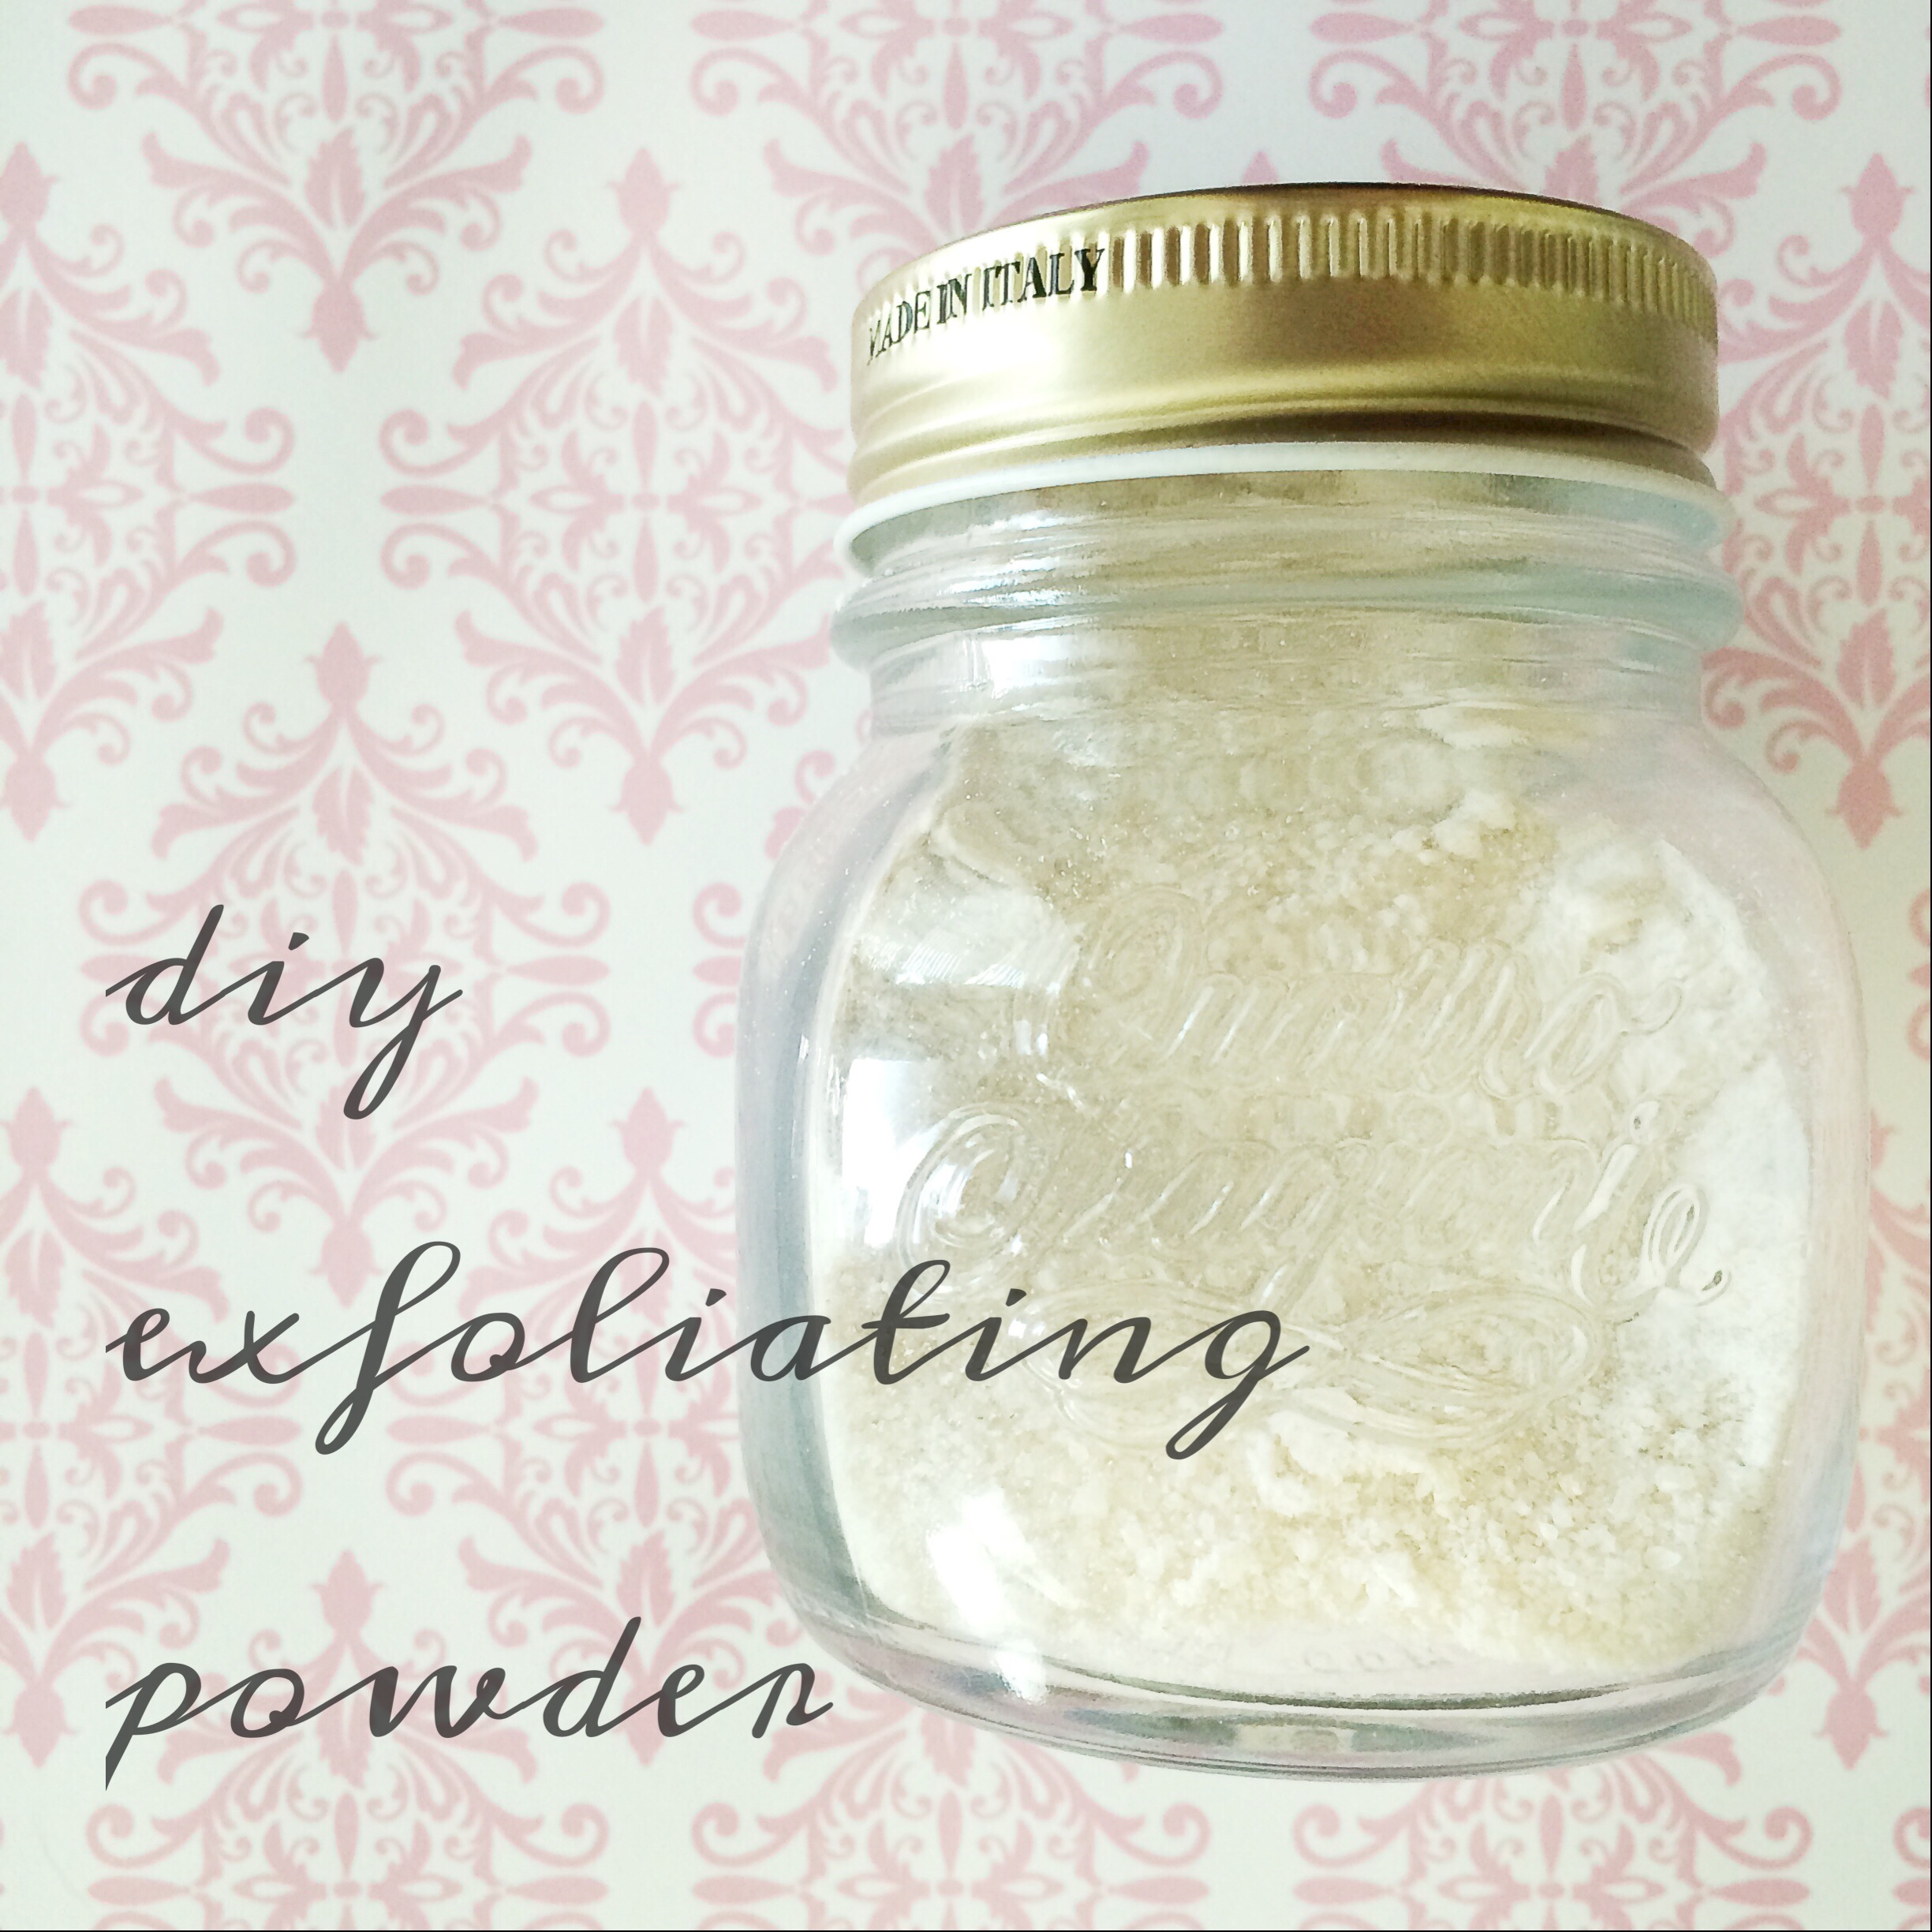
1. Get clean. Clean off old polish with nail polish remover and wash under nails with a nail brush. For extra soft skin, exfoliate with a scrub or rice powder by massaging your damp hands with the exfoliator for about one minute. Rinse hands and pat dry.
2. Nourish. Nourish and moisturize your skin with an anti-oxidant rich oil or lotion. Give yourself a nice massage while you’re at it.
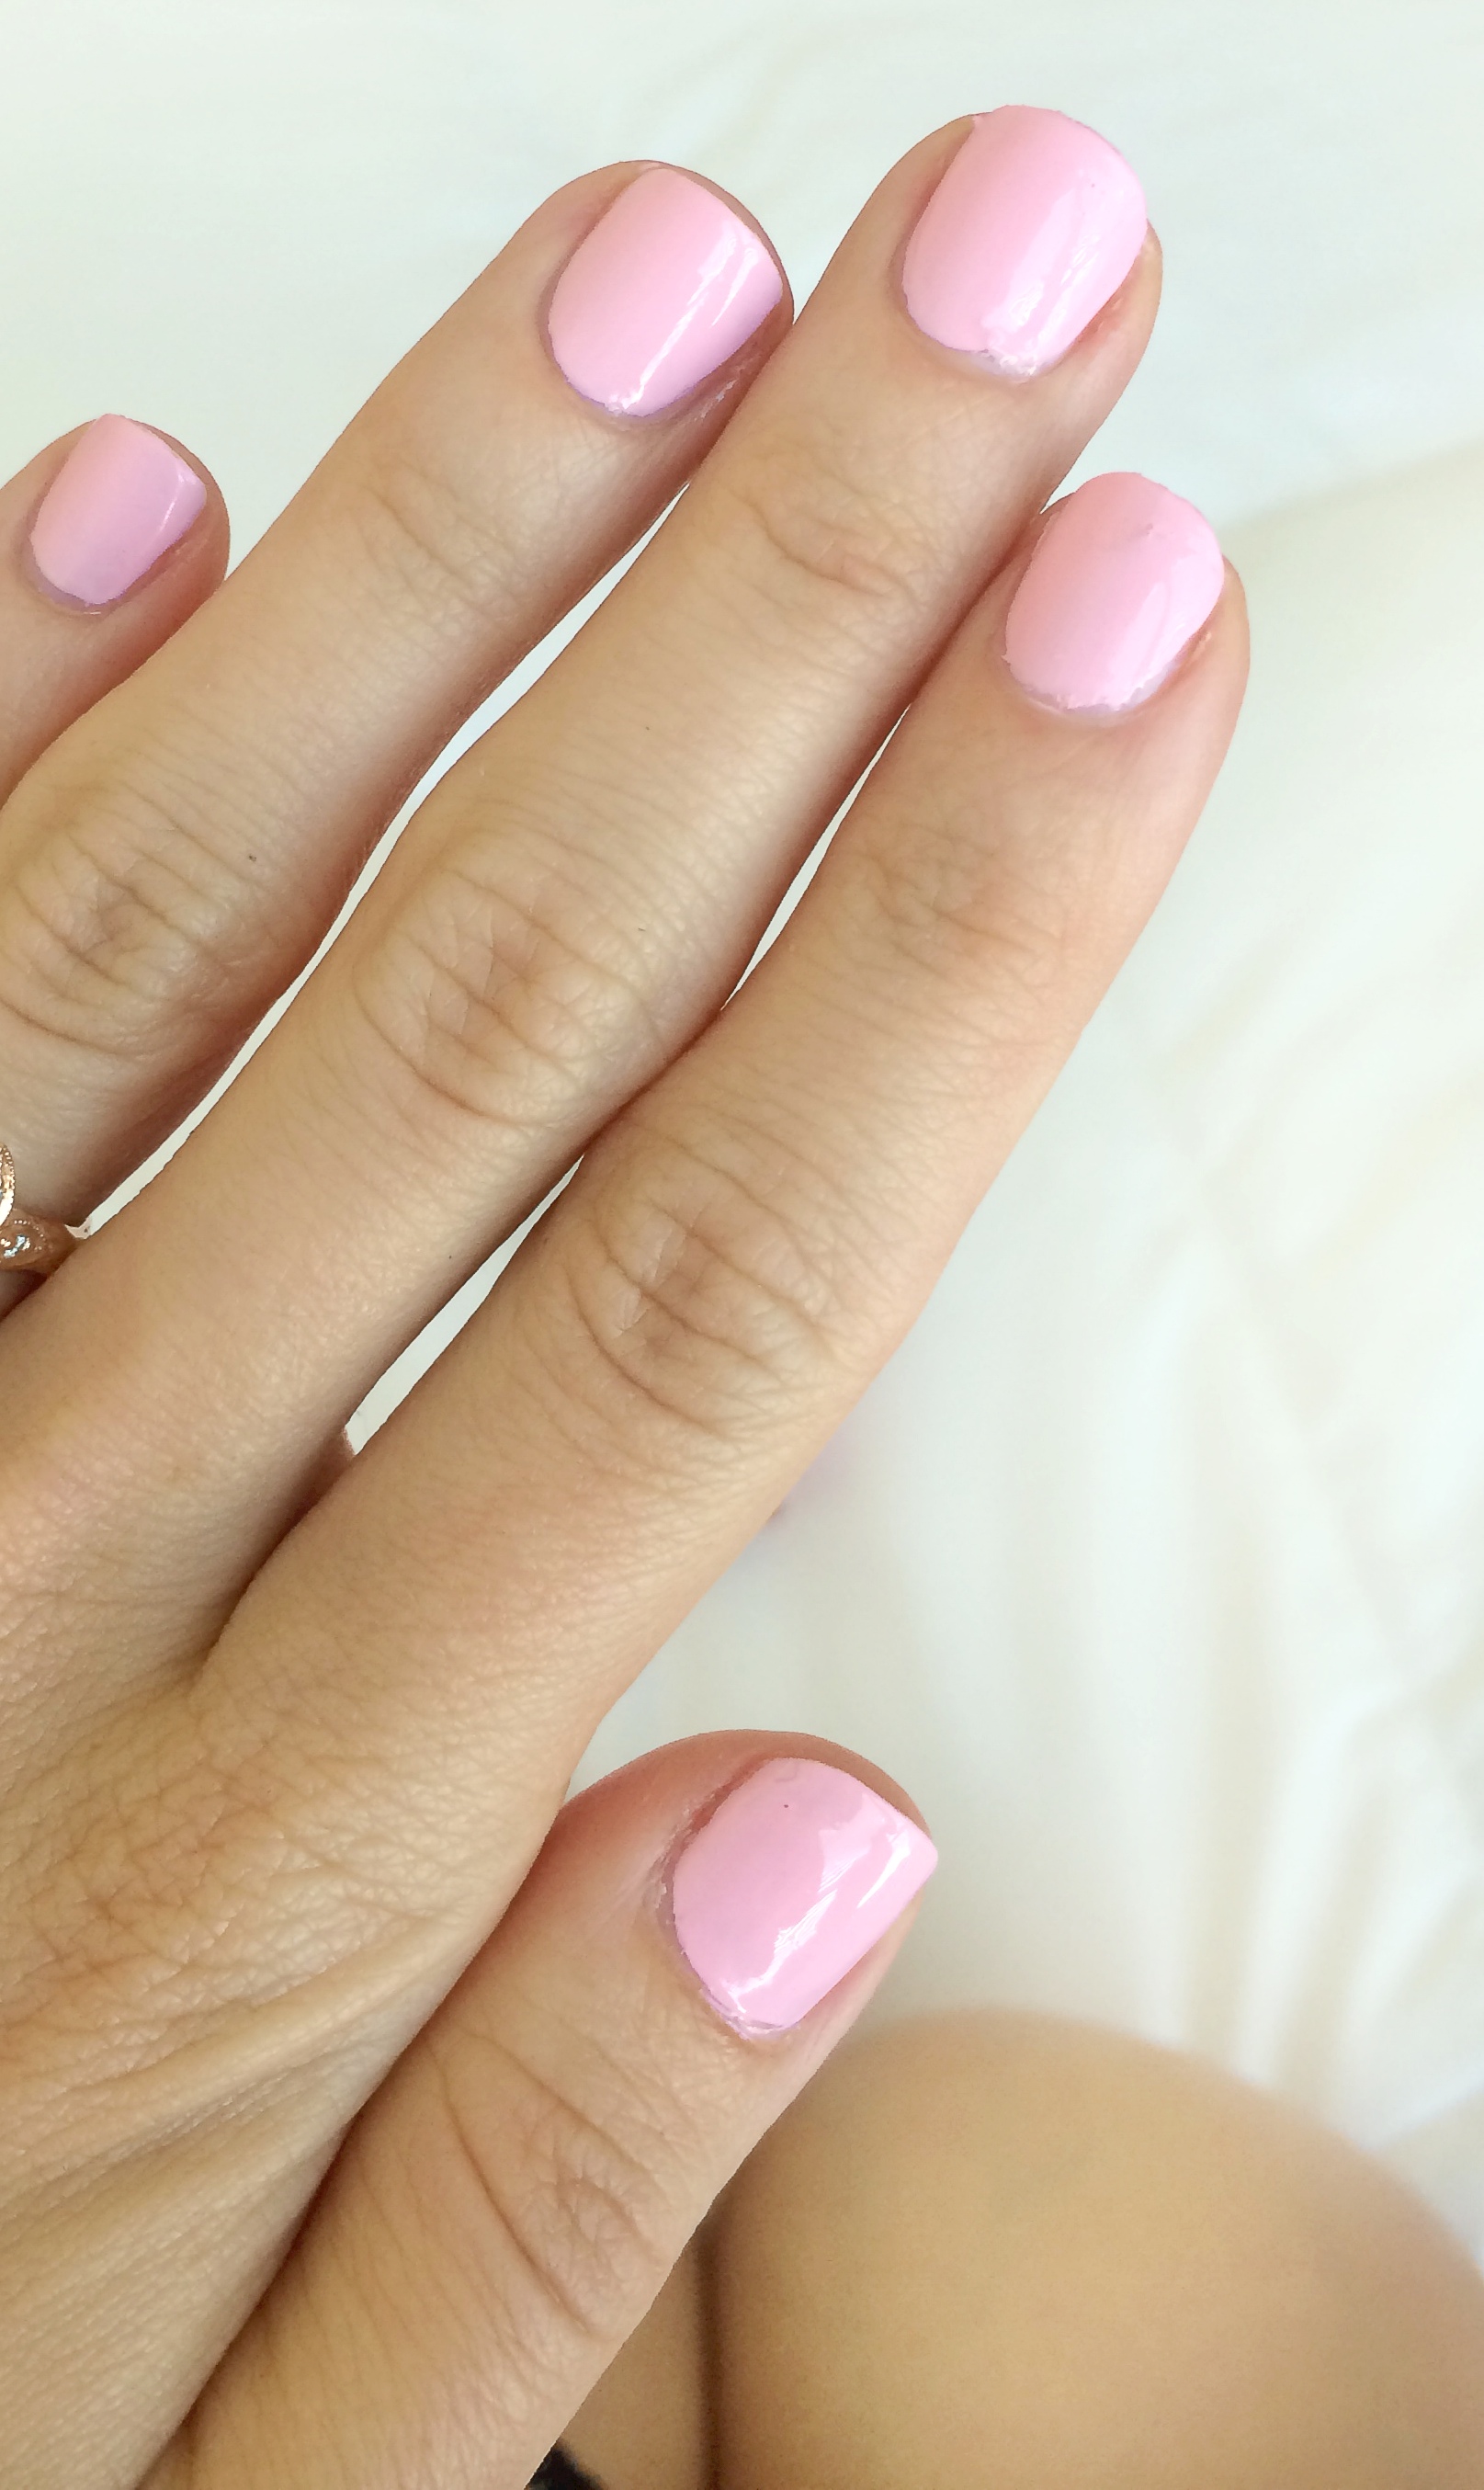
3. Be shapely. Using an emery board and nail clippers (if nails are too long or are of different lengths), carefully shape each nail. For a professional look, each nail should be the same shape and length. If your nails are long, a classic almond shape is universally flattering. If your nails are short, tend to break easily, or you just can’t have them getting in the way, the “squoval” is your best bet. With the squoval shape, nail tips are shaped into squares with rounded edges.
4. When shaping your nails, file in only one direction. Filing in a sawing motion roughens the nail, making it more prone to breakage.
5. Be buff(ed). Buffing weakens nails, so if you have brittle nails, you can skip this step or simple spot-buff any rough areas—which is what I normally do. Buffing smooths uneven areas, including ridges. A smoother nail surface will help polish adhere for longer (and paint on more neatly). To buff, use a fine grit file (or buffer tool), gently swiping it across the top of the nail.
6. Consider the cuticle. It’s perfectly fine to leave your cuticles as they are. After all, they’re there to protect the nail bed from infection. While removing them makes the nail more vulnerable, it’s the standard practice in salons. I find that gently pushing them back with an orange stick or cuticle tool—just enough to neaten them—gives nails a neat look without completely removing the protection of the cuticle.
7. Prepare your canvas. Dab a cotton ball in rubbing alcohol to wipe off any lotion and nail dust that may have collected on your nails. Any oil on the surface of the nail can cause polish to chip before its time.
8. Think in layers. For a professional finish and wear, four coats of polish is the magic number: A thin layer of base coat, two layers of polish, and a thick layer of topcoat. Allow each coat to dry for a few minutes before applying the next one. (Here are my picks for a non-toxic, cruelty-free top and base coats.) Begin applying polish a sliver away from the cuticle, painting it on in as few strokes as possible. Try beginning in the center of the nail then painting on either side.
9. Clean up, again. If you get any polish on your cuticle or surrounding skin, clean it up with a q-tip dipped in nail polish remover.
10. Maintain your nails post-mani. To preserve your manicure, apply a coat of clear every other day. Keep the skin around the nail looking beautiful by applying cuticle oil every night before bed. When it comes time to remove your polish, don’t peel it off (I know, it’s kind of fun, but it will damage your nails!).

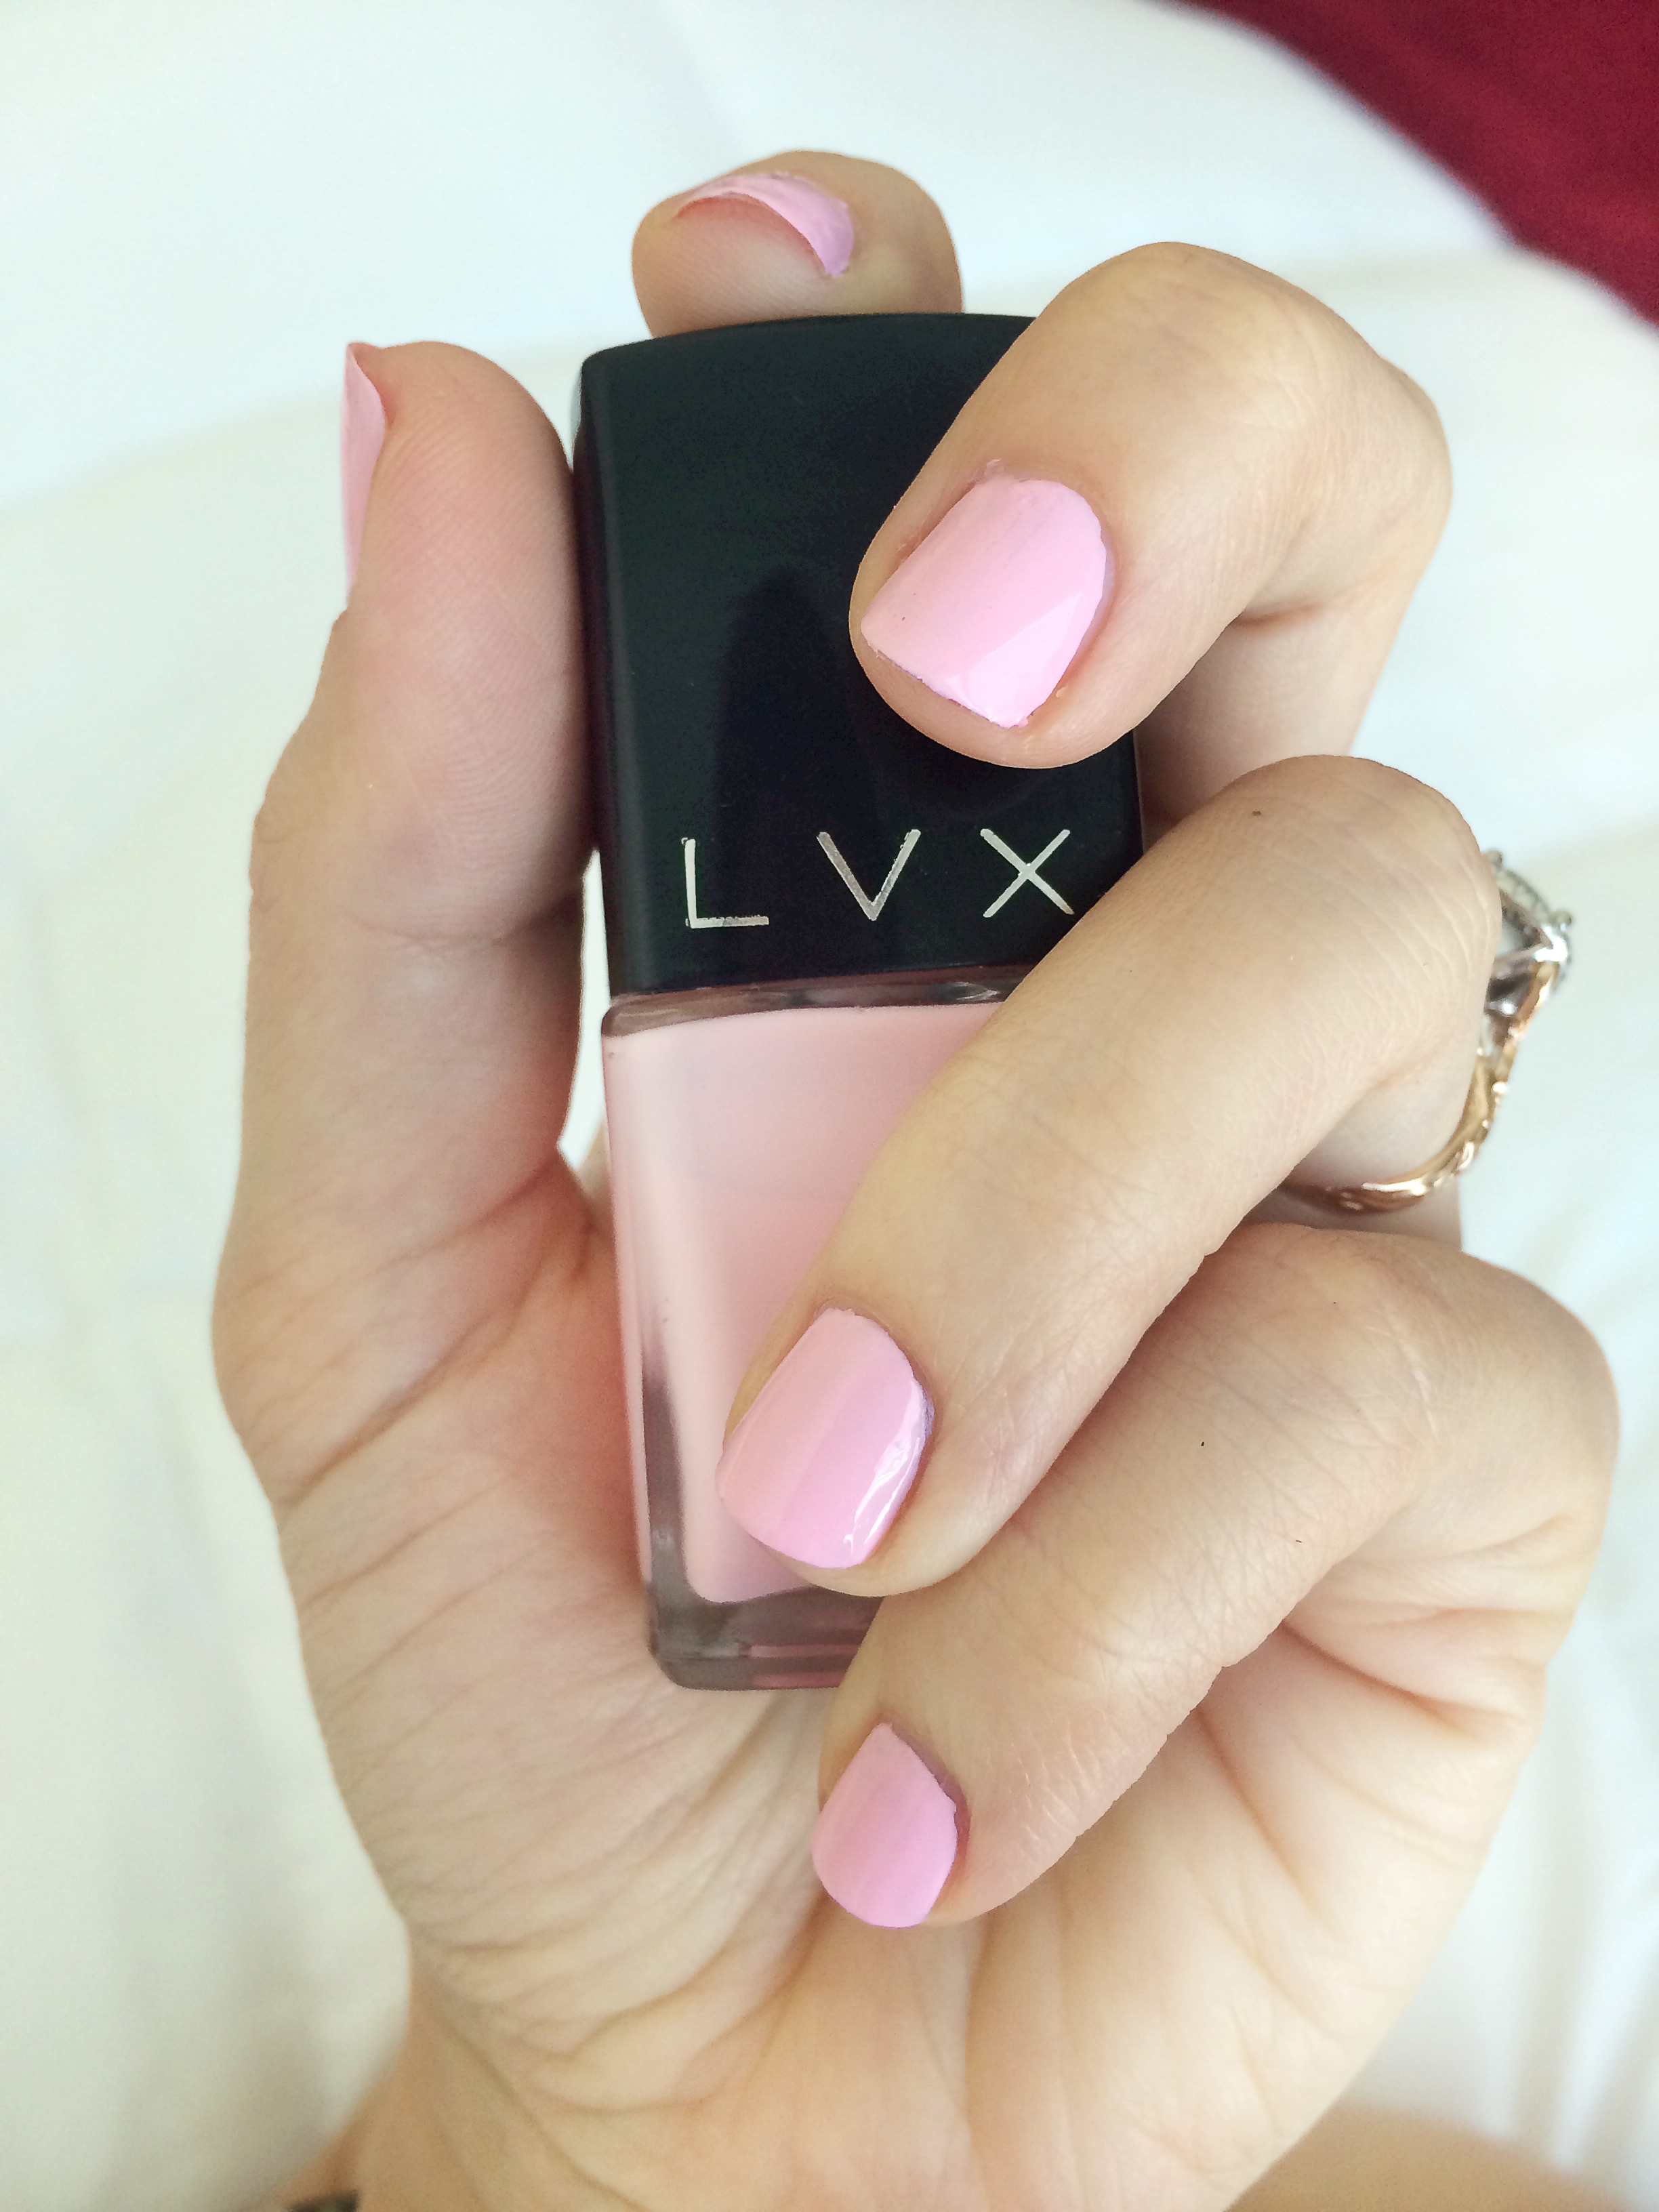
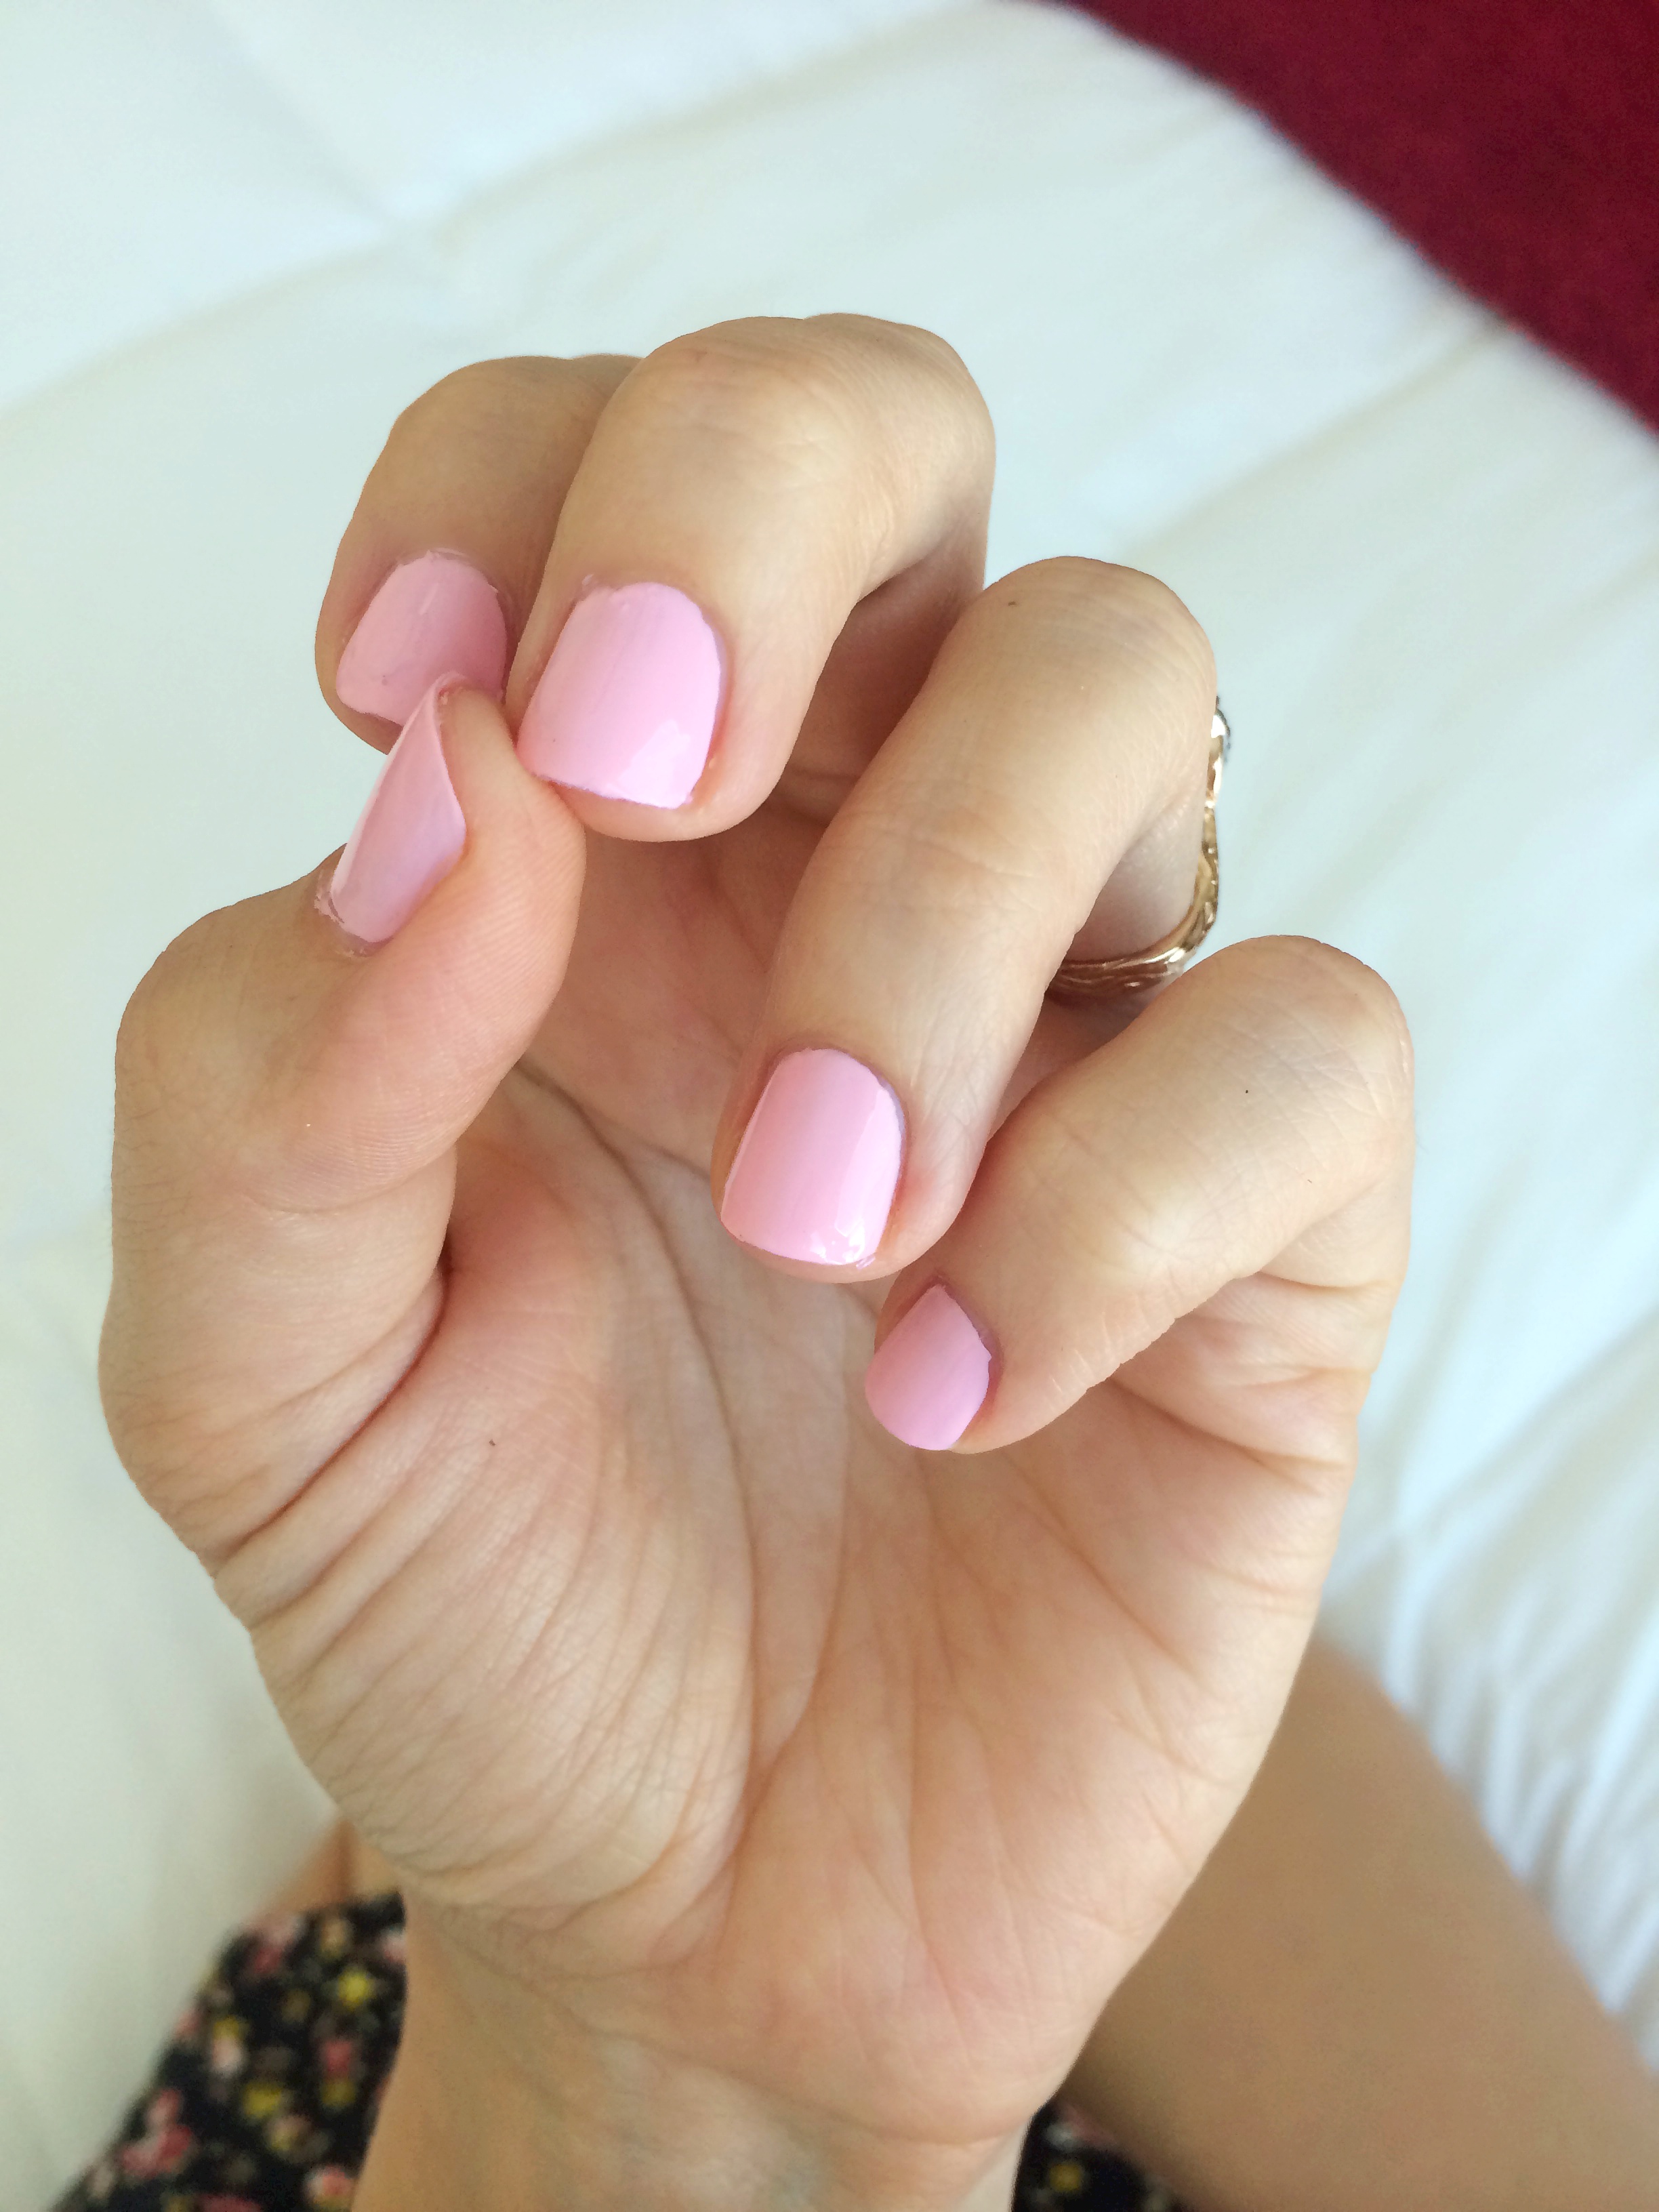
I used “Lolli” by LVX, a darling pink shade that’s vegan, cruelty-free, and non-toxic (three-free).
Good ol’ squoval.
More Beauty Secrets: Cleaning Vegan Makeup Brushes
Photos: Mary Hood