
Natural Beauty: Everyday Contouring Tutorial
I never really thought about contouring until my skin cleared up. For years, it was just conceal, conceal, conceal, and be done with it! I didn’t understand why someone would need different shades and formulas of concealer. (Wouldn’t you just want the thickest, most mask-like one available?)
But now I see the light (and the shadows).
This everyday contouring tutorial isn’t dramatic or complicated. (We are not going full-on Kim K. today.) It’s designed to emphasize the best parts of your bone structure: your cheekbones, your jawline…while deemphasizing the day-to-day complexion woes most of us encounter: sunken/dark/puffy under-eyes and inflammation around the nose, chin, and mouth and between the eyebrows.
There are a few basic rules: Lightness (i.e. concealer/highlighter) brings features forward while reducing the appearance of redness (and blueness, as the case may be). Shadow (i.e. contouring or sculpting powder) creates the illusion of deeper recess. This will come in handy under our cheekbones.
Also—apply highlighter and contouring with a light hand. It’s easier to build than take away. Trust me, too much contouring powder looks like a botched self-tanning job!
Products used for contouring:
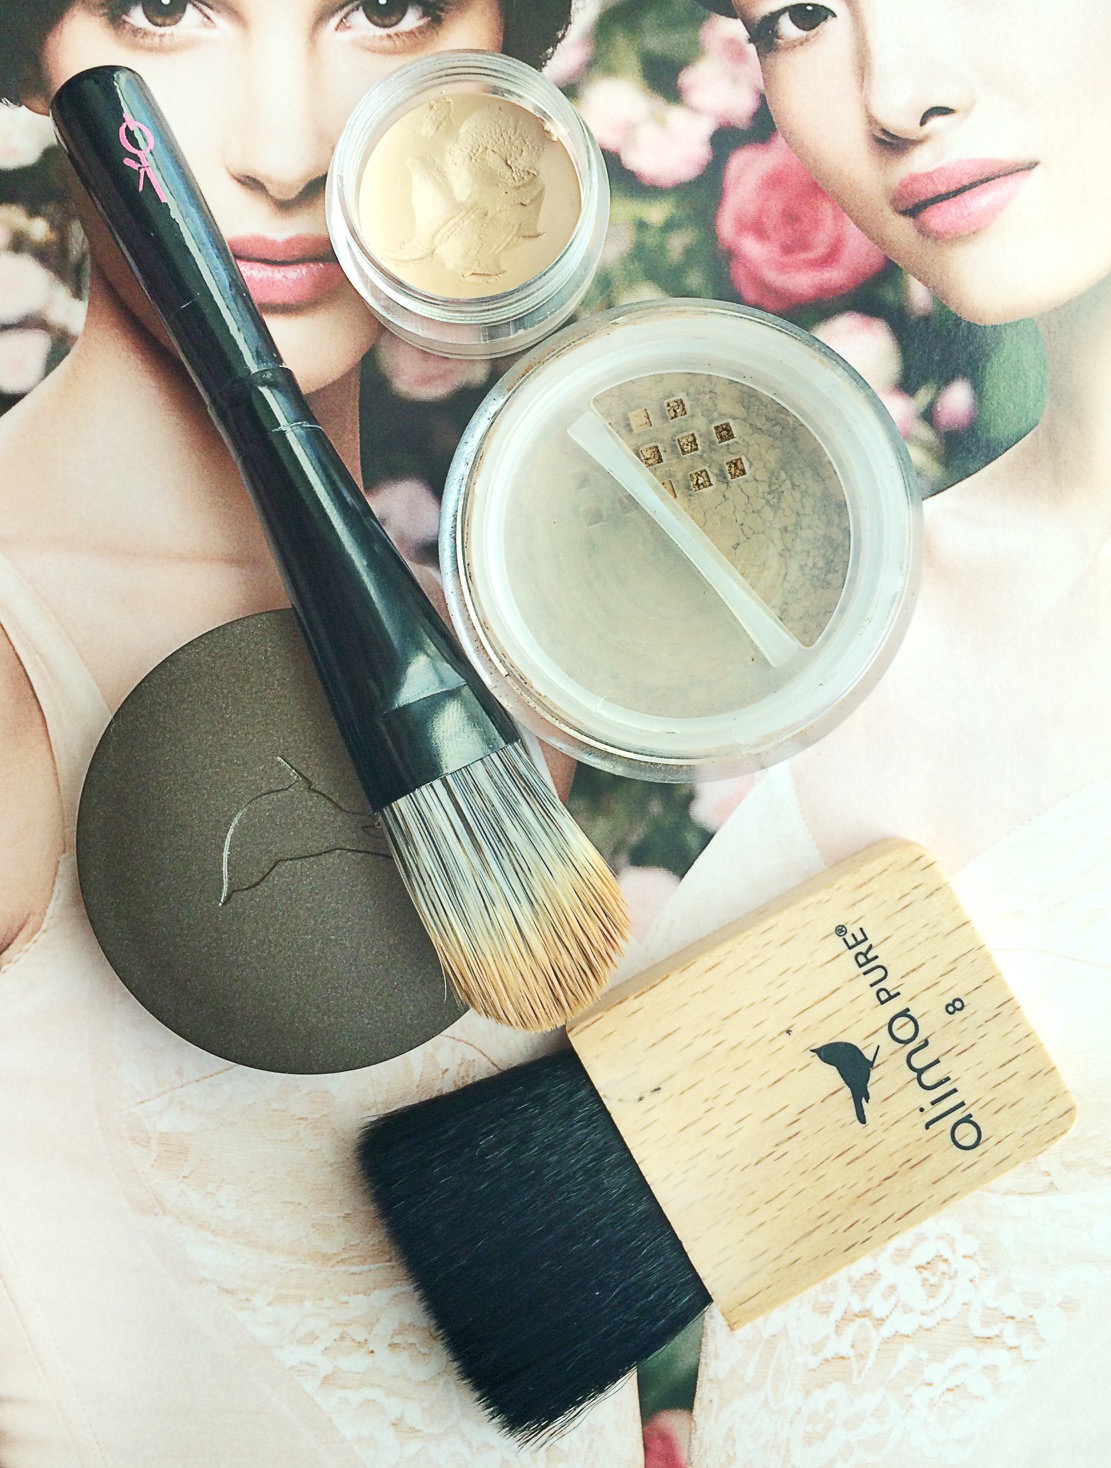
Alima Pure Sombra Contour Powder. This is a simple mineral powder that 2-3 shades darker than my natural skin color. (You’ll want to find something a few shades darker for you.) This is basically a matte bronzer. A matte formula is ideal since any luminosity (a.k.a. light) will work against our shady purposes.
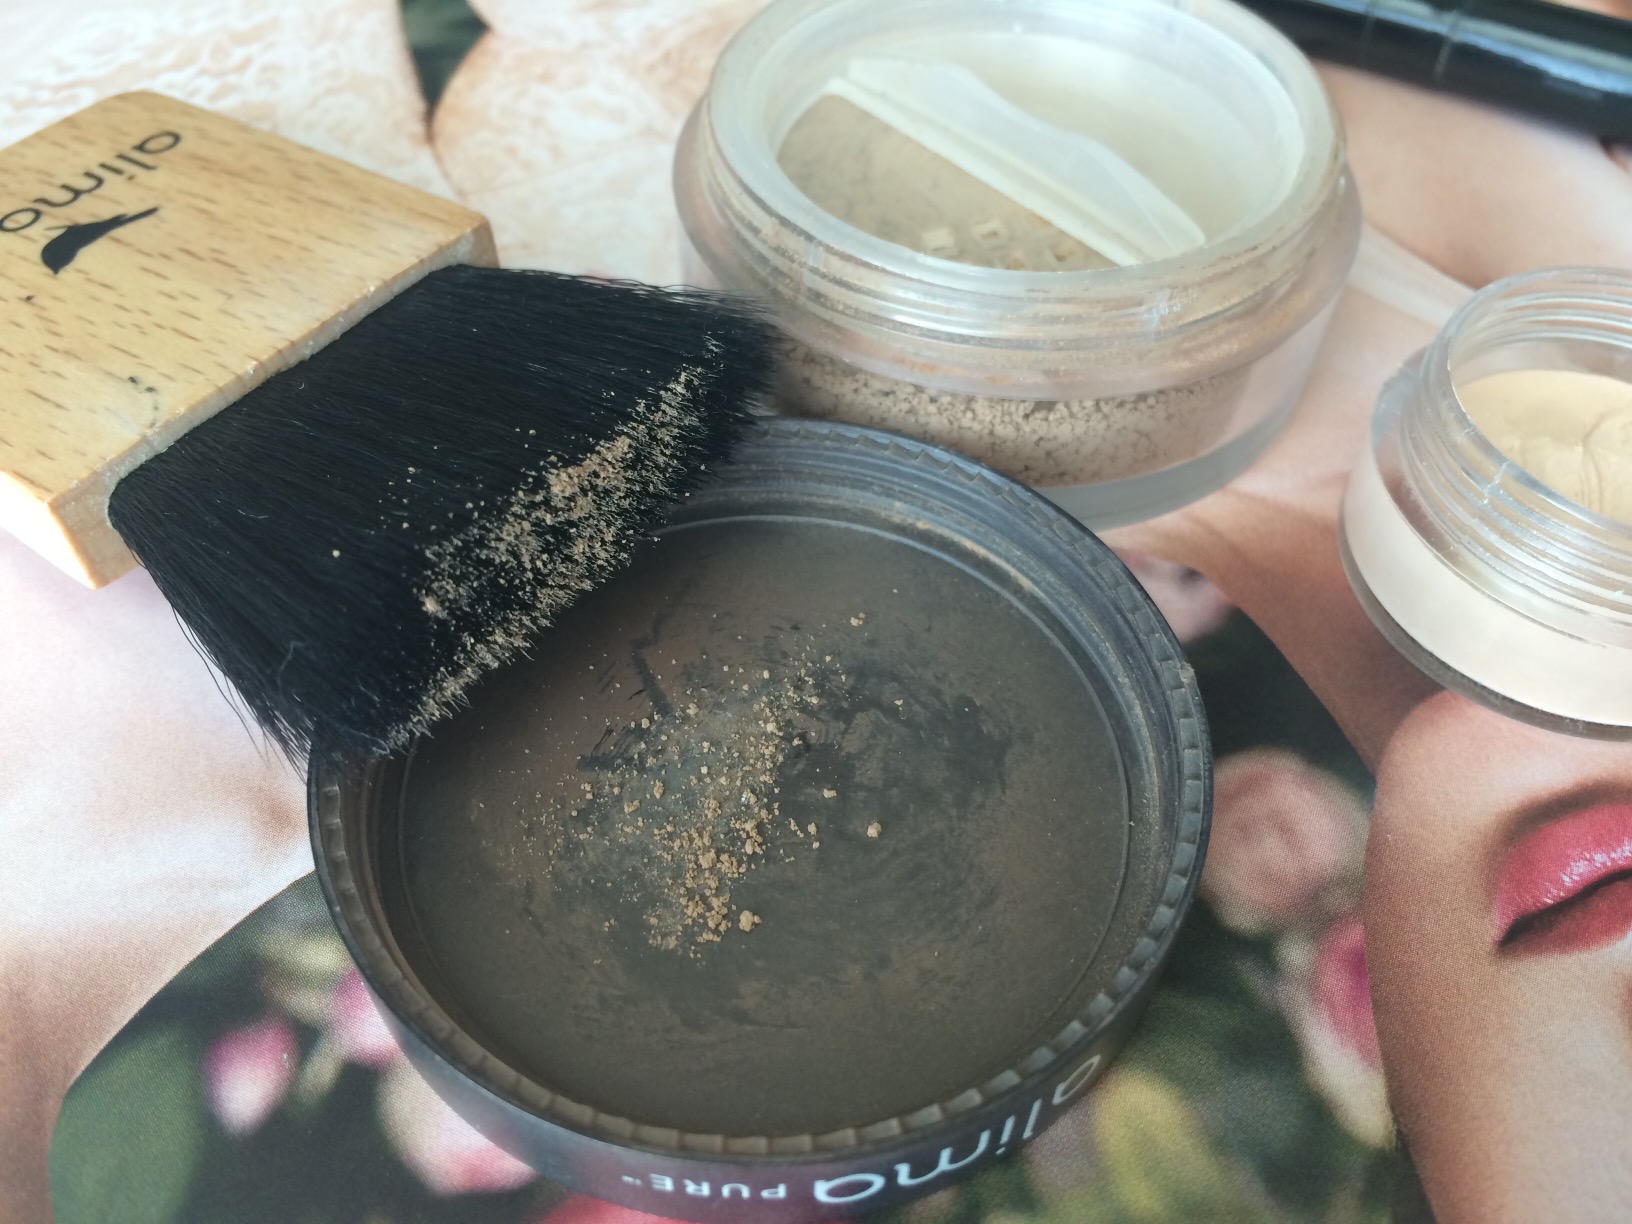
Alima Pure Sombra Contouring Powder. Choose a matte formula a few shades deeper than your natural color.
Au Naturale Cream Concealer in Beige. Normally, I would recommend a light, liquid concealer for contouring because you don’t want anything too cakey on the delicate skin underneath your eyes. Despite its creamy consistency, I find that Au Naturale’s concealer really melts when warmed between your fingers. (I made the mistake of apply it before “cooking” it between my fingers once– quel disaster.) It is a bit oily, however, so I wouldn’t recommend it for anyone with very oily skin. Choose a concealer that’s a few shades lighter than your natural skin tone.
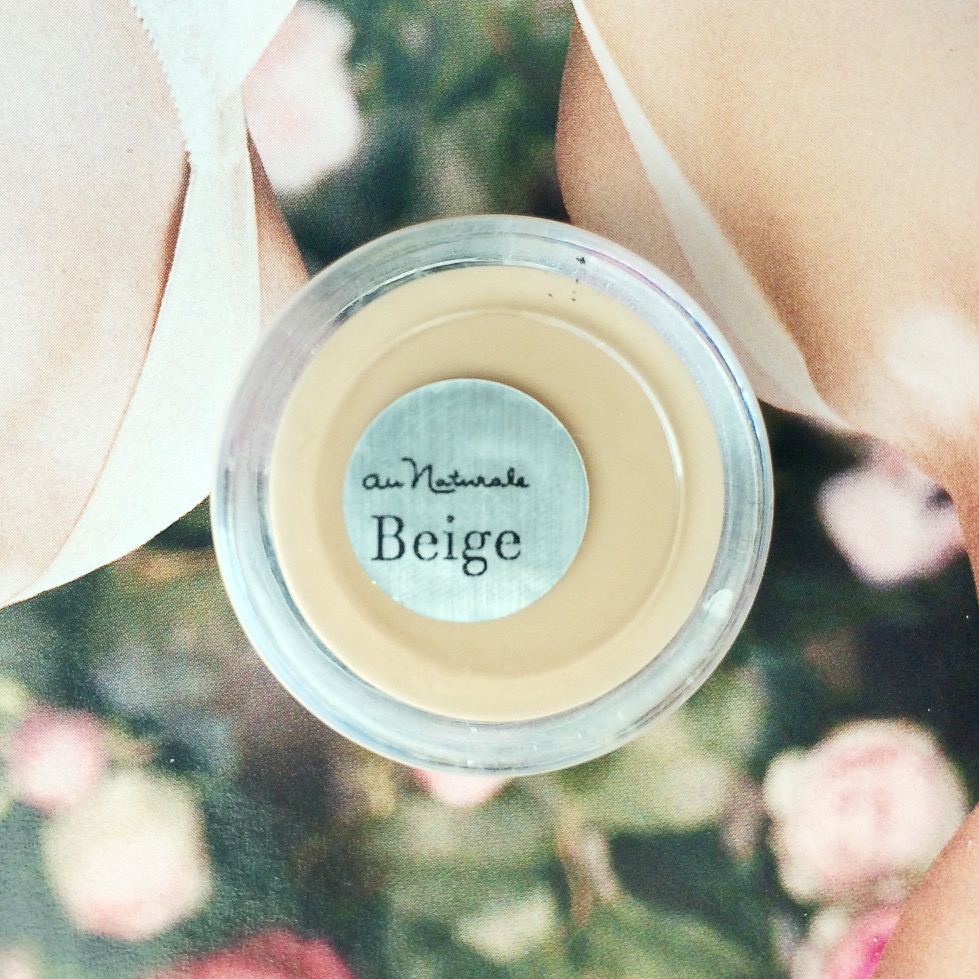
Au Naturale Cream Concealer in Beige. Choose a blendable concealer a few shades lighter that your natural color.
Vegan foundation/concealer brush. I’m using one by Kelley Quan.
Vegan contouring brush. I’m using one by Alima Pure.
Directions:
1. Apply foundation as normal. (Contouring may look a bit odd on a bare face.) If necessary, use a concealer that matches your skin to hide any bumps or blemishes.
2. Using your concealer brush, gently tap and spread your highlighting concealer underneath your eyes, blending it out across the upper edge of your cheek bones. You can also apply it around the corners of your nose (I’m obsessed with doing this since my nose “parentheses” are rather shadowy), between your eyebrows (this helps “open” your face), along your cupid’s bow, and on the front of your chin.
3. On to the dark side: Using your fluffy contouring brush, pick up a small amount of powder, and blend under your cheekbones. For flawless blending, direct the bulk of the powder along the outer half of the under-cheek bone area. Blend the remaining amount along this same line, toward your mouth—but do not extend beyond the apples of your cheeks. You may also blend along your jawline, around your temples, and along the sides of your nose.
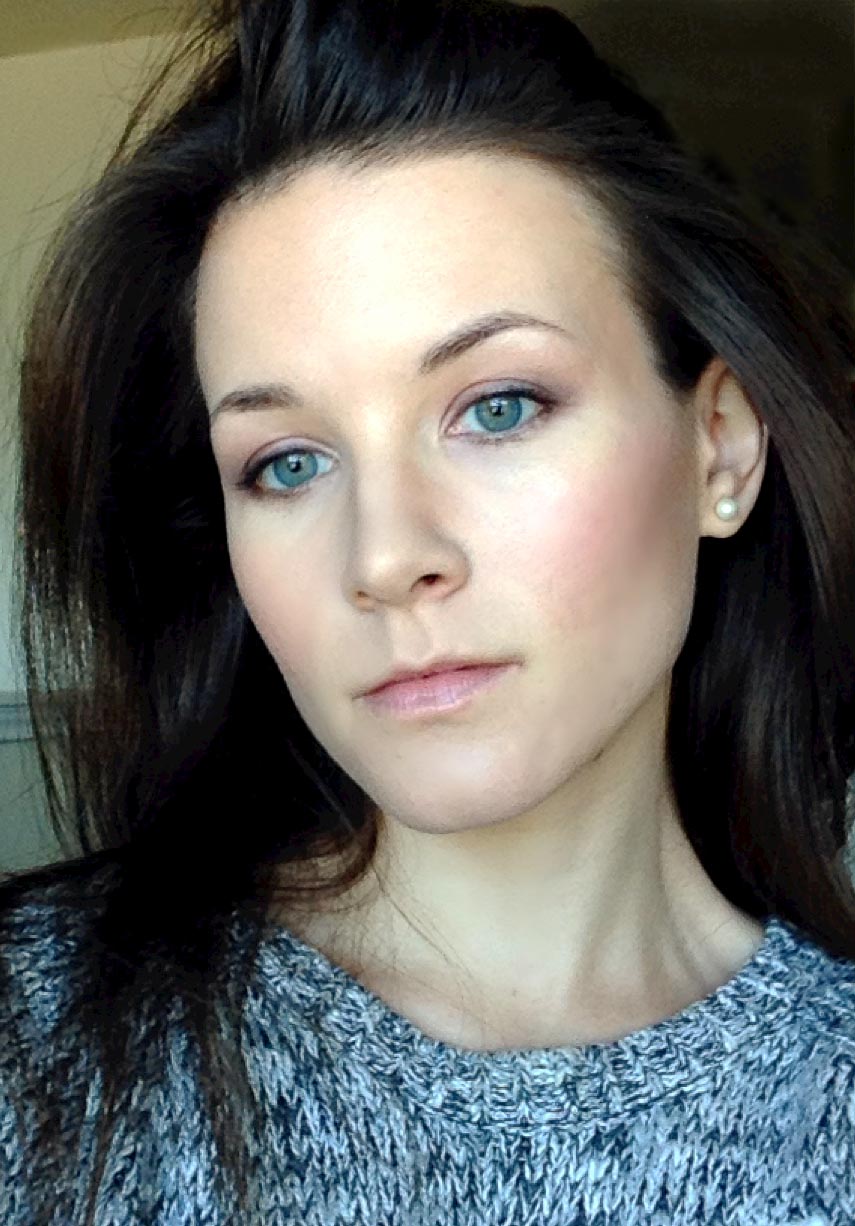
4. Finish with blush on the apples of your cheeks and finishing powder (if desired). I prefer to apply blush after I contour and apply my eye makeup since I often find that once I do these things, I don’t need a lot of blush to finish the look. In other words, this is a handy way to avoid applying too much rouge. That’s not say that I don’t over-do it sometimes! 😉
5. Smile!
More tutorials: How to Rock Bold Lipstick Fearlessly
Metallic Romance: Shimmering Eyeshadow Tutorial
Beauty Secrets: Emphasizing Your Eyes
Photos: Mary Hood